Showing posts with label aspiring metalsmiths team. Show all posts

Friday, February 17, 2012

Soldering Skillz

So I started making a set of earrings from wire and decided at some point to share a little.

first off, I had a ton of solder joints. All the bends in the wire i notched the wire, bent the wire then soldered in the notch to give it strength again. As you can see I used my tweezers as heat sinks to prevent certain joints from accidentally flowing. For the most part I was able to use hard solder, but the spot that had 4 joints at once I decided to use medium on. you can see in the picture below H for hard solder, M for medium. No need for easy.

 I then put on the earring post with medium, again using tweezers to prevent that one joint from accidentally getting too much heat and flowing on me.
 I then added the wires for the pearls and soldered them closed. I polished up the prongs so they were smooth.
 I decided to try something so i oxidized the posts
 And tumbled them so the oxidation became permanent....i might touch up a little to make the darker once they are set.
 Aand this is what i got: black tourmaline and pearls. Super classy.  I overworked one prong so i gotta re-solder it, then liver of sulfur, then tumble then reset. le sigh. Almost done, though. Hope it gives you some ideas how to solder lots of joints together.

Wednesday, October 12, 2011

How To: Open a Bezel

Has it ever happened to you that a customer wants you to change the stone in a setting, but wants both parts saved? Or maybe while you finish setting your stone you break off part of the piece. Never happens, right? Well, lets say it DOES happen one day. How are you going to get your stone out safely?

Let me show you my little trick. I'm going to take this boring piece and pull it apart.

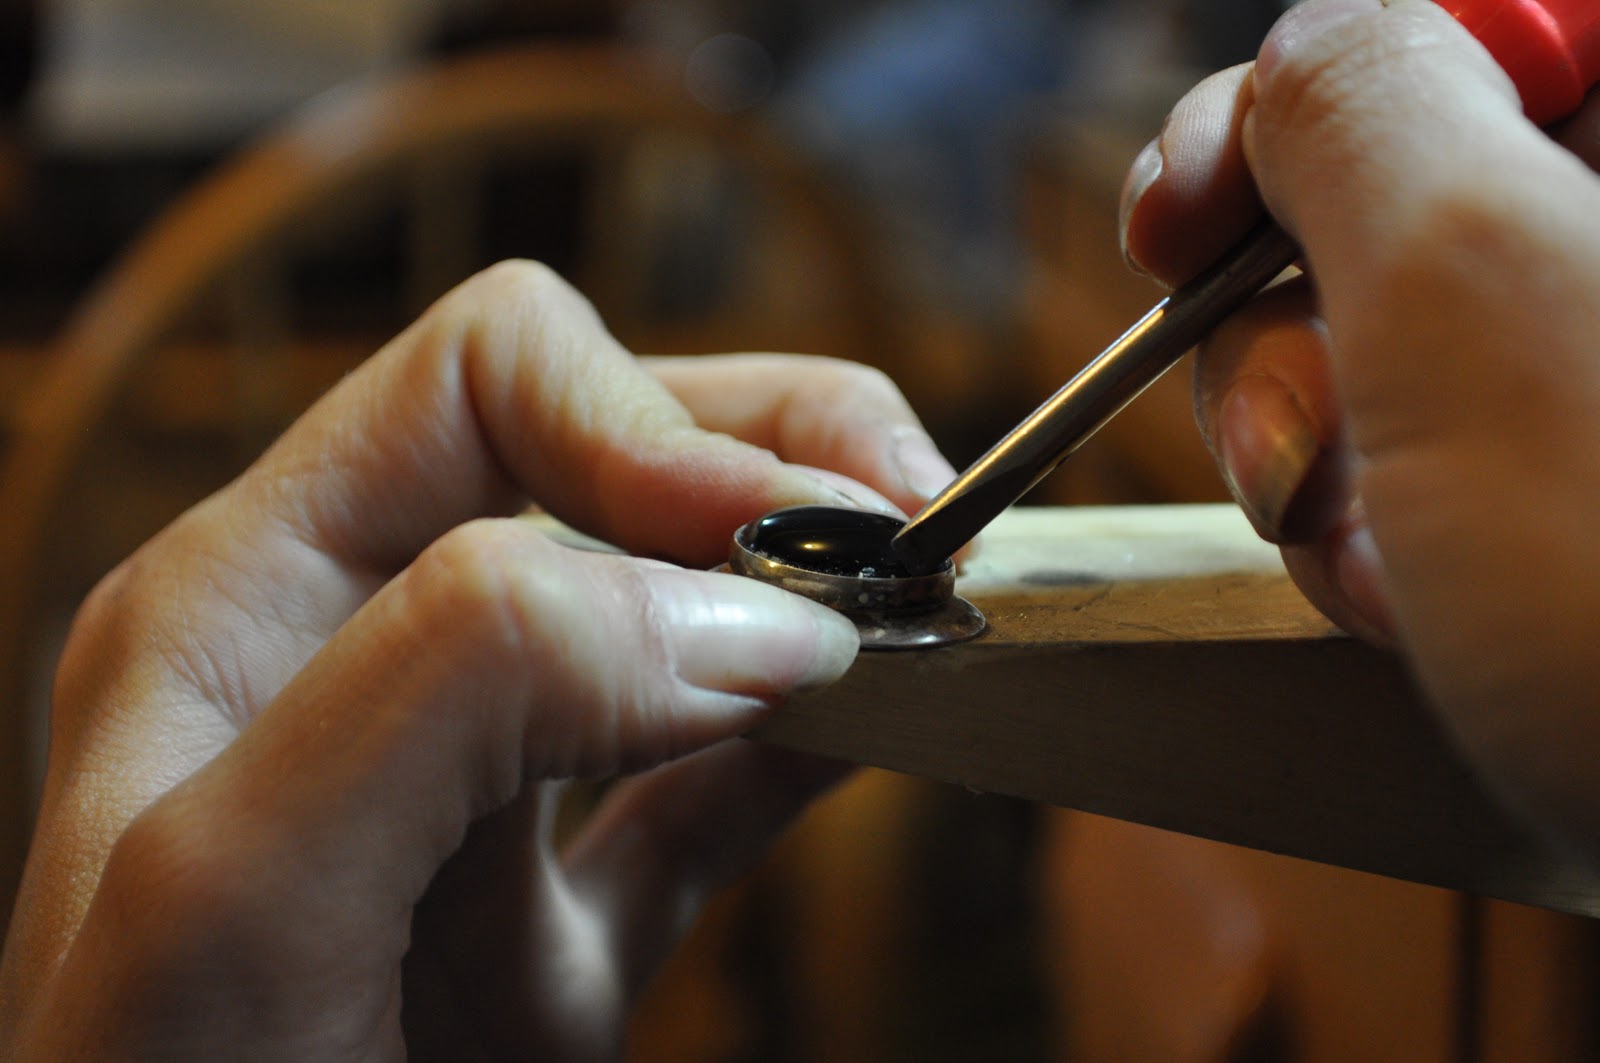
 The important part is the tool you use. I had modified this screwdriver years ago as a makeshift rivet starter....didn't work so well. But it work GREAT for opening up bezels.

 You see how I sharpened up the tip? One side is pretty flat while the other tapers into that side. The flat side should go next to the stone as you open up the bezel, that way you wont scratch your stone.
 So start by slipping the corner of your screwdriver in between the stone and the bezel. Again, your flat side is going to help you get super close to the stone and wedge the bezel open. Wiggle the screwdriver gently to get it to start opening up.
 Once you get it open a little, slip your screwdriver deeper into the bezel and at a 45 degree angle slide your tool along the inside of the bezel.
Viola! The bezel is open with no damage to the stone, and minimal damage to the bezel!

 Go ahead, pop out that stone and you are done! And all it took was 1 minute of careful work.
Man, that was kinda fun. Anyone have some bezels they need opened? Anyone?

Sunday, October 9, 2011

Ghost Rider

 Howdy! I've got a fun piece today! I found a lovely little agate from Montana over at Handleys. At first I was all ho hum, then I saw it: A cowboy riding through sage brush! So that what I did, and here's how.

First came designing the piece. Getting a decent cowboy silhouetteis one thing, getting it in the right proportion is another! It took me several tries, but i finally got my cowboy and horse the right size.

Next came making the piece. I switched over to a  new torch setup in the middle of making this. From acetylene/air with a big torch tip to oxy-propane with a MINI torch tip. Well, I had some trouble getting it hot enough to solder up right, but I kept trying and finally got it. yikes, though, what a nightmare!

So I got the bezel made and all ready to go, and drew on my little cowboy
  
 I cut him out

 I was careful in my sawing as I couldn't add metal if i screwed up! But he turned out okay
Now one thing i did take into consideration was the possibility of the back plate tarnishing. I am trying to mitigate that by creating a fine silver layer (using depletion guilting) under where the stone sits. We'll see...at the very least it makes the stone appear whiter.

 I set the agate in and it looks pretty darn good. One thing I didn't realize was the stone tapers off by a millimeter on one side! so to get it to fit into the piece I had to do a bit of resizing. Anyway, it looks pretty good. The camera didn't want to pick up on it, but you get the idea. he comes out pretty clearly in real life.

Friday, June 24, 2011

Erikas Design Process

I make no claims to be a trained artist. Infact, most of my sense of design is purely instinct. When I work on a new piece i have several days of designing: sometimes i draw out the idea, sometimes i just move around the stonest themselves. I had a nice turquoise i wanted to pair with an opal, but i hade a bit of trouble figuring out what to do and how to so it. I did a small sketch, but it wasnt enough to fill in all the design holes. So I played with the stones i had until i saw something I liked. Here are three possibilities:
 I still like this one....

Ever so slightly different
But I went with this one. 

Now the question: where to I put the chain?

Tippy top?

Middle of the top?
Through the accent stones? IF i went with this design I would have to have the opal stationary-and my problem was I couldn't see how to connect the opal to the turquoise.
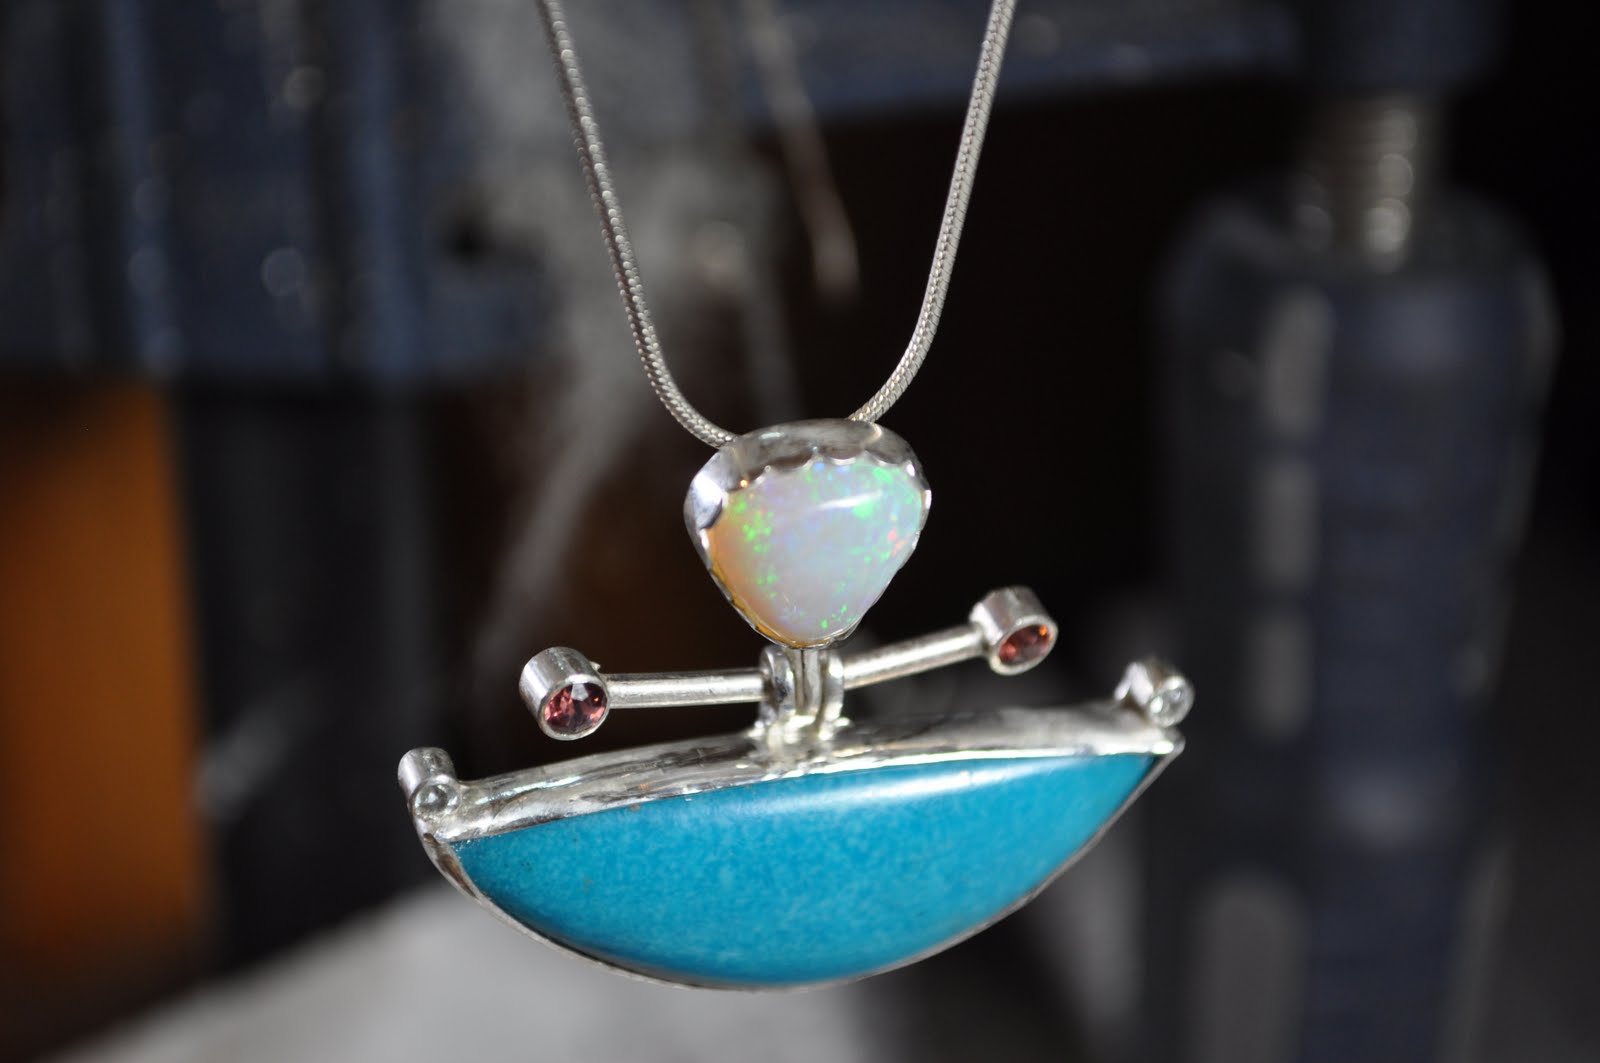
Finally, I decided to go through the top and connect the two stones with a rod....this also created lots of design possibilities. Big rod? Small one? Beads on the end? Gold or Silver? Though I almost went with gold accents out of nowhere i decided to use two rhodocrosite garnets.


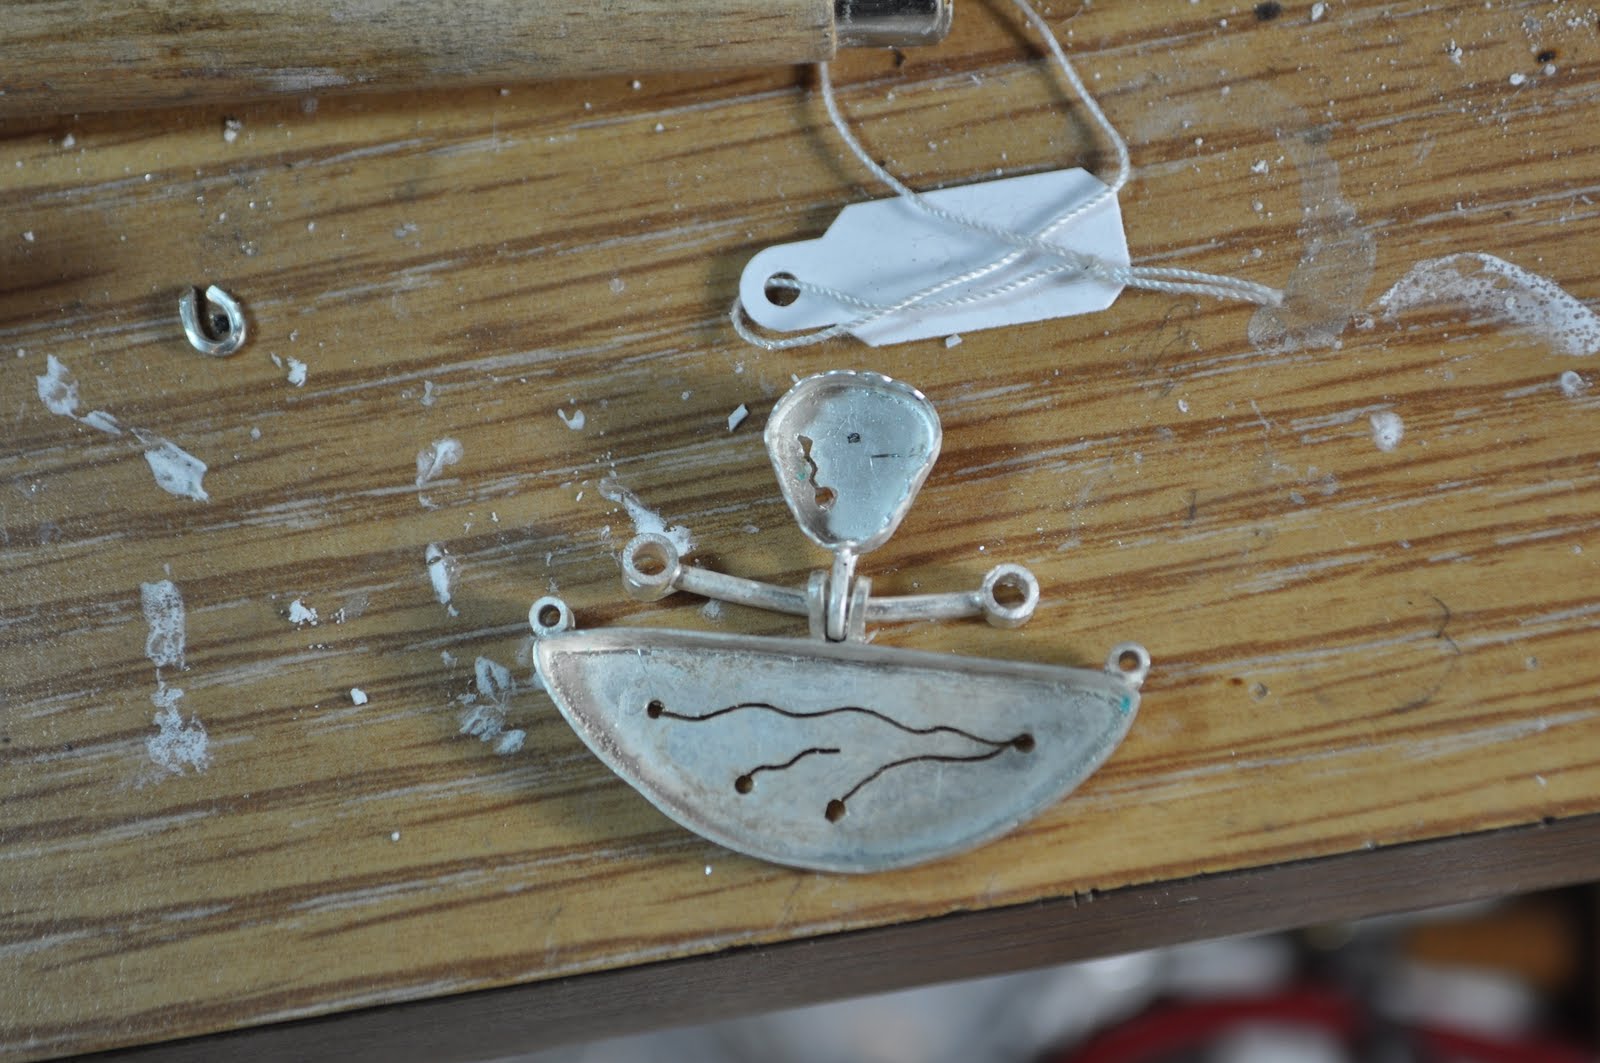
Here is the setting waiting for the stones.


Finished piece. Well, almost, still needs a final polish but its not to bad for an afternoons work.

BTW This is the original piece of opal I cut that one from. I actually got THREE different pieces of jewelry from this one stone.

Monday, March 28, 2011

How to: Patina Silver at Home

I do not have liver of sulfer, the most common silver tarnishing compound. So when I read the other day that one can use over-boiled eggs to give a patina to silver, I had to try. First things first: you have to boil and egg until it starts to turn green inside. So, maybe 20-25 minutes rather than 15. All you need is the yolk, so give the whites to your niece who loves hard boiled eggs. Squish up the yolk and put it in a container with the silver and close it up.

After half an hour it was starting to tarnish a little. I dont thin i boiled my enough...plus the organic free range eggs arn't as sulfry as corprate eggs imho...

An hour later its changing color

The next morning its dark. I polished up what i wanted and the piece had nice details. If you ever find yourself in need of a silver patina but without your liver of sulfer this is a great, cheap eco-friendly way to do it.
I ended up having to solder the piece again and toss it in the pickle, which removed the patina. Oh well.
The finished piece. Again I used Ethiopian opal that I cut by hand and a paridot cab. A fun paisley ring.

Friday, February 25, 2011

It Stoned Me to My Soul

In keeping with the Aspiring Metalsmiths blogroll I'm going to post my stone collection. After going through this I realize I don't have all that many and really ought to start buying more. dear me dear me! Lets start with one I've been sitting on for almost two years:
This is a huge amethyst. I cant count how many times i've carved a basket out of wax for this piece. Once as i was finishing up on a beautiful basket I dropped the wax and STEPPED on it! I was about to sprue it up...alas, it has, mishap after mishap, remained unset. Hopefully soon. Next

One of two ammonite slices. Its mate is still waiting for the setting to come together and be set. I have a grand idea for this piece, just need some pitch and a sandbag.

This is an interesting aquamarine. I had trouble getting a good shot of it, but the cut spirals to the center. Its such a unique stone I'm waiting until the right idea comes along.

These are my lovely garnets. Their setting is waiting to be finished...My design was beyond my skill level, so now it sit waiting to be perfected. A set of gravers would help immensely

These are some of the few beads i like. Garnet nuggets like the ones I used for this piece. The feel so good between your fingers. Maybe I'll do something else with them soon.

Opals in the process of being cut. Need 600 mesh diamond, then the final polish.

A pale morganite and tanzinites. Some of my first stones.

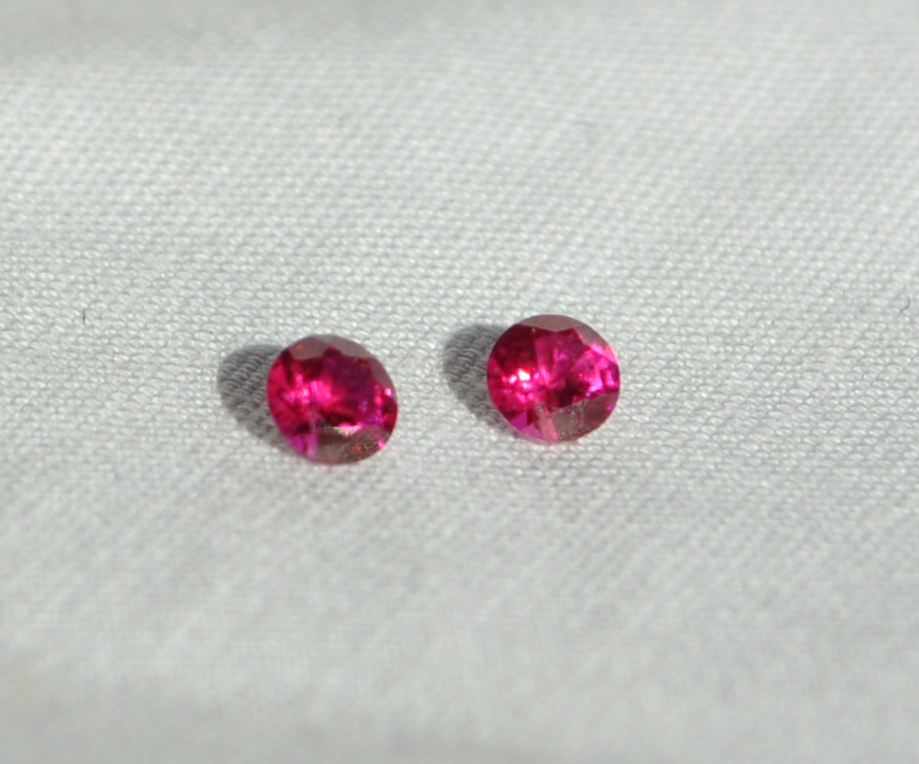
Two lovely rubies. sometimes I just sit and stare at this pair.
A recent aquisition. Montana sapphire with interesting cut.


My collection of yellow sapphires. Some have a very nice quality, other are so-so.

The rest of my sapphire collection. I do like sapphires because of their strength and many colors.

Turquoise and opal, these are meant to be together. Waiting for the third stone to appear.
Well, I have my eye on a few stones at a few shops, and a few more pieces i had trouble scrounging up.  Lots of pearls too, but my computer refuses to let me upload them. I have a few up here. Plus the jar of beach rocks and agates i have which deserve a page unto themselves! hum...maybe i'll go do something with those right now...

Dont forget to check out the other stoner collections from the Aspiring Metalsmiths team