Showing posts with label How to. Show all posts

Tuesday, June 19, 2012

How To: Basic Pavé

Basic Triangle Pave

I finally learned pave, yay! or at least this basic pattern. The pattern will change depending on the shape and there is a whole theory behind how to arrange the prong pattern which i haven't yet been able to comprehend, so lets just stick with the simple triangle, eh?

First set your stones table down on the piece almost touching, then mark their centers. Drill your starter holes
 These came out a little close, so I put the stones in to see it would work, yeah, it will.

 See how the stones are almost, nearly touching? That is what you want.


 So now mark one side as top, and drill out the seat for the stone at the top. This will be your guide stone. make sure to drill deep enough when you put your stone it its table is flush (or just slightly lower) with the metal.
 Drill your next seat a hairs width from the other seat. You want the smallest gap you can make between the stones without them actually touching. That is the hard part. Sometimes i drill close enough I have a sliver of metal that moves between the hole depending on which side i drill: this is a good sign to me.
 Next drill out your third seat now only a hairs width from both of the other stones. That was hard, eh? Now take your tiny oval graver and cut out any wall material between your stones, be sure to leave the stub in the middle of the three stones. You can see what i mean by expanding the picture below: I tried to mark the metal I wanted to keep with a sharpie. You may need to touch up your seats again with your  drill to get out any flashing.

 Now when you fit your stones in they should all be almost touching, tables flush with the surface and sitting straight. Not too much to ask.
 as you can see in this picture one of my stones is sitting up too high so i had to pop it out and drill the hole a little deeper.
 Once you get everything even its time to start setting. Take your knife graver now, put the tip into the metal at a 30 degree angle, then lift your graver up to a 70 degree angle  and push into the metal wiggling side to side. this will make the metal mushroom over the stone and should only leave a dent in the metal. This is the beginning of your bead.  This alone should set your stone, after you have all the corners done your stones should be set and the rest is cosmetic. In this piece there are 6 beads you want to create: the 3 corners, and the 3 pieces on metal between the stones.
 Once you have created 6 beads now you need to set them free. Start with your knife graver and cut a little V shape around your bead. This should leave you with enough metal for a round bead prong. You can sort of see in the picture below how I started cutting away the metal. Do that with all the beads, then take a beading tool and burnish your little metal nubs into actual beads. The arrows below show which direction your prongs should go. Each stone gets a single prong in the corner, and the metal between the stones create shared prongs. Using your round gravers face you can tilt that center bead to hold the two lower stones, or if you have enough metal you can  create a shared prong between all three stones.
 Clean up the edges using a flat graver creating a bright cut around the edges. Add milligrain if you want, polish it up and there you go! A basic pavé!

Tuesday, May 8, 2012

Fabricating a Bright Cut Pendant

Hello there! Been a while, eh? I've been very busy at my bench. One of my recent projects was this fabricated opal pendant. I started with 12 gauge silver sheet soldered to a back plate (20 gauge) and half bezel. I had to make sure my silver was thicker than the stones I was trying to set. Once I was done soldering I cut it out and got this:


 No holes for stones, though. Next I placed the stones and drilled starter holes for them. I'm testing the piece out to see if i've got thing spaced well.


Next I open up the holes with a flame bur then a setting bur to create a seat. Most my seats are a tad small so I use a knife graver to open it up enough to fit a stone.

 After getting everyone to fit I take my graver tip press it into the metal then tilt the tip up: I do not cut, I simply wedge metal over the stones. This is the beginning of the bead process.
 Next I cut a little V behind each bead to "release it." They are ugly at this point, but once I polish and shaped them with a beading tool we have pretty little beads


 Once all beads are finished I am now bead set. I then take my flat graver and cut behind the beads to clean things up, remove stray marks, and create nice angled surfaces to reflect extra light. This is bright cutting and together it is called "bright set." There are many variations of bright set but the main idea is the setting surface has been angled so that it reflects more light creating a "brighter" look.


The opal setting was quite tight already, but just to be extra safe since it was just a half bezel I epoxied AND  set metal over the stone. I pretty happy with the finished product, though the bright setting could be a little cleaner. Also: don't bright set periot. Just. Don't.


Wednesday, February 29, 2012

How To: Prepare New Buffing Wheels


Whenever you get new buffing wheels for your polishing motor it is important that you prepare the wheels before you charge them with polishing compound. This is my new two spindled polishing motor. It really should be up about 6 inches, but I have limited space for now.


 Inside it has a fan and a place for an air filter. This is pretty important because polishing compound is pretty nasty stuff you don't want in the air or your lungs. PLUS, you can send your air filter to a refiner and they can recover the precious metal from it. This is especially important working with platinum or gold.
 First thing you do is put the wheel on. You don't need to screw it on or anything: just turn on the motor put the hole up to the spindle with a break-away grip and it will take that wheel itself.
 Whabam! Now your wheel is spinning at a terrifying speed.

 Whenever using a buffing motor it is important to *always* have a breakaway grip. NEVER lock your fingers into your piece. If your piece catches on your wheel and you are entwined with the item the wheel will take the piece and your fingers with it. A scratch or bent prong is not worth loosing your fingers over. Also, don't polish chains on a wheel. There are special dowels you can buy to safely wrap your chain around while you use the motor, otherwise you risk creating a metal whip spinning at 6,000 rmp and loosing fingers (or worse) along with ruining the piece. Am I scaring you yet? Good. This is an important tool that can quickly become dangerous if used wrong.

Finally, there is about a 40 degree area that is safe to polish on. If you polish outside that area its more likely your piece will catch on the wheel and go flying. When you polish ideally your arms will be at 90 degree angle at about your belly button, braced by your hips with your feet planted firmly shoulder width apart.


Preparing a wheel is simple. Just take a hard piece of metal like a flat head screw driver or, like I'm using, the tang on an old file and press it into the wheel. Bits and pieces of material should go flying everywhere.  Move it side to side until the fly aways pretty much stop and then you are good to go. This is a good way of also getting excess or old/used compound off your wheels.

 Finally add your compound. See how I am applying it in that 40 degree area? That is what you want. As you can see, my motor is a bit low which is why I have had alot of pieces get caught by the wheel and go flying.

On Wheels and Compounds:

Different compounds can take different kinds of wheels. Tripoli can be apply to either a pressed felt wheel (which you can choose either a plain wheel or knife edge), chamois, or muslin. Because tripoli is an early polish and still has alot of cutting power a different wheel will give different results. A pressed felt wheel is the hardest and can be used to clean up edges. I've used the side of a knife edge pressed felt to polish the edges of my back plates and it does wonders crisping up the edges and making the whole piece look thicker! A knife edge will also get into narrow areas, but because it still has cutting power it can leave marks if you don't go fast enough. Felt will cut what it touches and will not  necessarily give an even polish to something with raised detail, so that's where your muslin wheels come in. The layers of muslin opens up a bit so they envelope the piece and can reach most detail spots. As you go up in polish grades the wheels need to become softer material so they don't scratch the piece. Sure, tripoli and Zam you can use most any wheel on, but your final polish should be imparted with something soft like muslin.

I have worked with people who are super anal about not contaminating wheels with the wrong compound, and others who literally throw the wheels and compounds all in the same box. Most folks say avoid getting any lower grit compound on your higher grit wheels and clean thoroughly between polishes.

Right now I am only doing two polishes on the wheel. I use red tripoli then go to red rouge. Ideally I would be using Zam between the two for an even brighter polish. Fabuluster is also a great product for silver which i use on my flex shaft and some of my stones. Compound isn't too pricey so you can play around and decide what you like the most.

I'd like to hear what polishes my reader like to use. Anyone use the different tripolis, yellow, white or red? What do you like to finish with? Do you use something different for different metals?

Friday, October 21, 2011

How to: Make Grape Juice


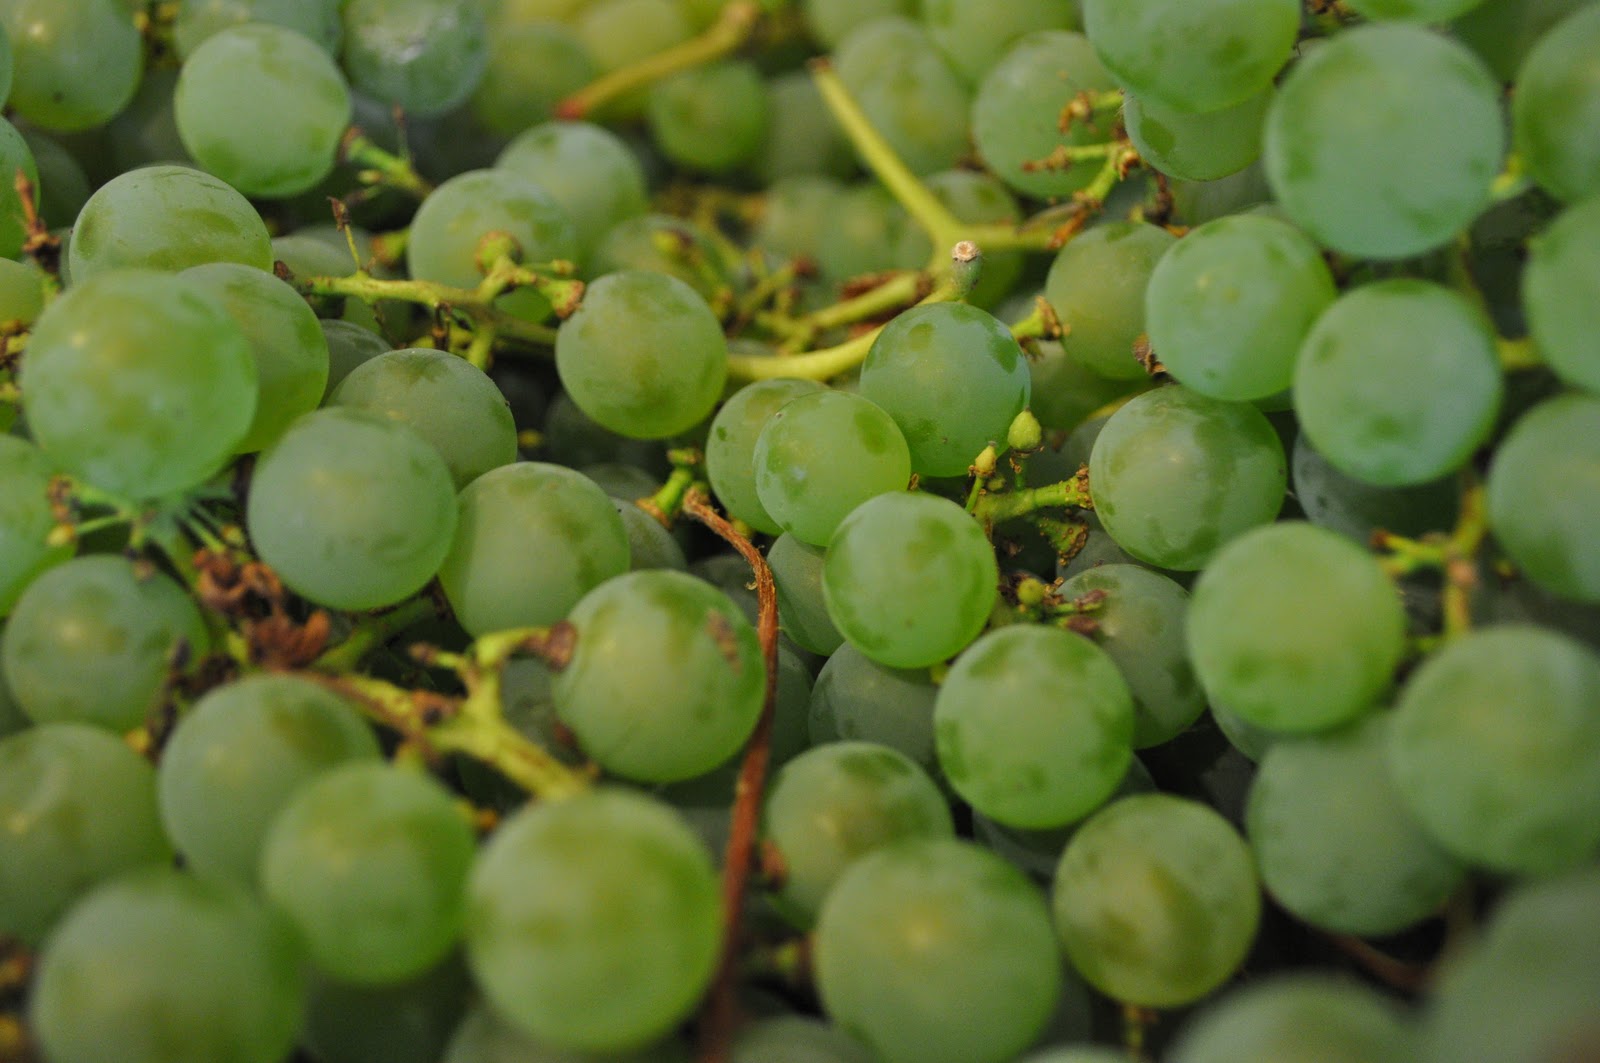
 Welcome! Today, rather than my bench we shall make grape juice. First, Get yourself some grapes! Okay, more than some. ALOT of grapes...as in several pounds. Grapes don't give off that much juice, so I would suggest buying from a farmer rather than a grocery store. Don't worry if it has seeds, they arn't a problem for us.

I have some variety of white grape from the farm. My boyfriends dad planted it years ago and this spring the sheep "pruned" it back. Thanks to the pruning the vine grew like crazy and is loaded with fruit.

 Now rinse them and look for spidery/caterpillary stuff and rotting grapes. Get those out of the way
 Run your fingers down the stems and gently pull the grapes off. Don't worry if you squish a few, just try not to get too much stem in the pot. I destemed a couple pounds in a matter of minutes. Once you have your pot full crush your grapes, then you should have room for more in the pot.
 Bring to a boil and them simmer the crushed grapes for 10 minutes, continuing to crush the whole one occasionally. Once you have them crushed and cooked pour a ladle or two into a colander lined with cheese cloth with a bowl underneath the collander to catch the juice.

 Let it drip then once the dripping gets slow take up the corners of the cheese cloth and carefully squeeze. DON"T squeeze the mush out the top of your cheese cloth onto the wall. Not that that ever has happened. To me at least. ....
Yum?


Anyway, gently squeeze the juice out and once you arn't getting much juice toss that pile of mush into your compost or around your flowers. Its good stuff. I found rinsing the mush off the cheesecloth between each use made it go faster, but that's just me.
Now I understand why people stomp grapes. arrrrrggg!!
 Once you collect your juice pour it into a glass container and put it in the 'fridge for 12 hours to let the sediment settle. Once it settles pour off the juice into a pot, bring it to a boil, add your sugar if you wish and enjoy!

Wednesday, October 12, 2011

How To: Open a Bezel

Has it ever happened to you that a customer wants you to change the stone in a setting, but wants both parts saved? Or maybe while you finish setting your stone you break off part of the piece. Never happens, right? Well, lets say it DOES happen one day. How are you going to get your stone out safely?

Let me show you my little trick. I'm going to take this boring piece and pull it apart.

 The important part is the tool you use. I had modified this screwdriver years ago as a makeshift rivet starter....didn't work so well. But it work GREAT for opening up bezels.

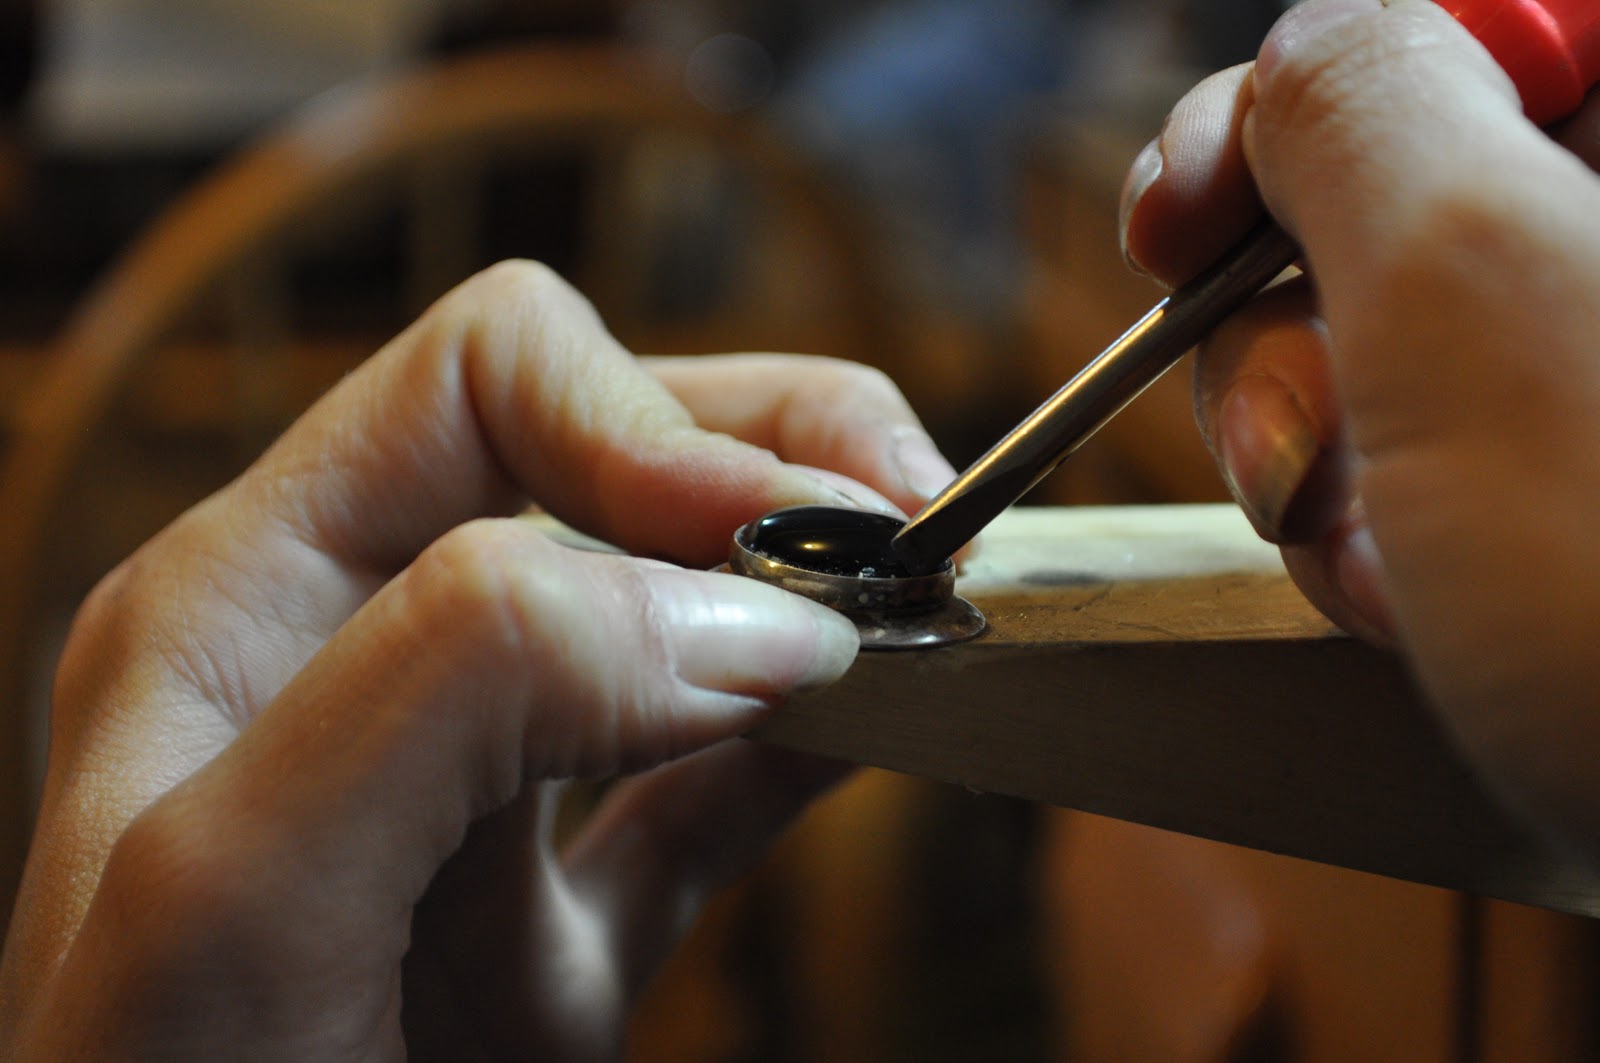
 You see how I sharpened up the tip? One side is pretty flat while the other tapers into that side. The flat side should go next to the stone as you open up the bezel, that way you wont scratch your stone.
 So start by slipping the corner of your screwdriver in between the stone and the bezel. Again, your flat side is going to help you get super close to the stone and wedge the bezel open. Wiggle the screwdriver gently to get it to start opening up.
 Once you get it open a little, slip your screwdriver deeper into the bezel and at a 45 degree angle slide your tool along the inside of the bezel.
Viola! The bezel is open with no damage to the stone, and minimal damage to the bezel!

 Go ahead, pop out that stone and you are done! And all it took was 1 minute of careful work.
Man, that was kinda fun. Anyone have some bezels they need opened? Anyone?

Saturday, July 16, 2011

How to: Make Jam

At this point, I am an Oregonian. So when the end of spring rolls around I can't wait to get my summer on. One way to celbrate is with berries. Yes, fresh Oregon berries. Few places can compare to our strawberries that are full of flavor and have to be eaten as quick as possible because they will litterally disintegrate before your eyes. This spring was so horribly wet and cold that we didn't get any berries until July! All the while I was languishing think, worry, waiting about missing out on my fresh berries. Luckily I got let off work early one day and went out with my family to pick strawberries. Yup, u-pick farms are quite common in the Portland area, and its great! In half an hour three of us picked 14 lbs of beautiful, perfect strawberries and it only cost $16.75

Perfection
So....what am I going to do with 14 lbs of strawberries? other than an orgy of strawberry related foodsits time for some fresh jam!


squish squish squish
I cleaned them and tossed a bunch in a big pot and gave my niece a chance to crush the bottom layer of berries. This year the berries were kinda sour because of all the rain. But its okay, because the high acid content make them store better and when they are a bit sour all the sugar in the jam balances out perfectly to make a not-to-sweet jam. I gently reduced the berries to inhance the flavor (normally you dont need to bother), then measured out the liquid once it was cooked (I had 5 cups). For this recipe it is equal parts sugar to equal parts berries so I poured in 5 cups sugar.

 Supposedly its better if you heat the sugar before pouring it in, I never have had trouble using my cold sugar.


Many recipes say to add a tsp. of lemon juice per cup of fruit to raise the acidity and stability of your jam. I added a dash because it seemed a pretty high acid content already.

After adding the sugar I cook it gently until it get hot enough to jel (if you boil too hard it will destroy the natural pectin). I never use a thermometer, I just look at how it drops off the spoon and then test it coolded down on a plate. When it is jelled it falls off the side of the spoon in two globs, not one stream. Additionally, I rarely ever use commertal pectin. If you can process you fruit within 24 hours of picking it usually retains some of the natural pectin in the fruit, and if you want to borrow some pectin from another fruit go ahead and use apple peals-they are chock full of pectin! Just dont forget to fish them out later... When using the natural pectin you jam wont be as solid as store-bought jam, but i think its a bit to gloppy anyway.

Once the jam has jelled drop it into sterilized jars and process in hot water for the right time period for your recipe. (Mine was 10 minutes)

Beeeeeautiful.

Awe gee...what to do with all these strawberries....?

Maybe...fruit leather?

Recipe for fruit leather:

Put your fruit in a small pot and heat to 190 degrees. After it is heated transfer to a blender and puree. For 1  cups of liquid add 1 tsp lemon juice and 1/4 cup sugar. Spread 1/4 inch thick on a lined sheet pan (don't use wax paper! it will stick to the leather. Use either a silicon pad or plactic wrap) and leave in a vented oven at 140 degress until dry.


yum.

Monday, June 27, 2011

Bake time: Croissants

I am not entirly sure why, but today I decided to bake, of all things, croissants. Well, I have done it once with mild success before so I guess I figured it would be no problem. Croissants are made with a laminated dough-basically layers of dough between layers of butter. To start off the butter has to be prepared. it is beaten from its stick form into a rectangle with a bit of flour incroperated into the butter (my recipe called for 3 sticks of butter, and 3 tablespoons flour)
Today I was be careful and actually sifted the flour before I measured it out, then i spooned it into my measuring cup. I am glad i did, because though I sifted three cups (i think) there was a alot more flour left over.


Let's spoon
The dough required a very quick kneading then sat for a bit in the fridge 
Gotta roll out the dough into a BIG rectangle

after making a nice 18x8 inch rectangle I took my big butter rectangle and covered 2/3 of the dough. Now the layering starts. The 1/3 that is uncovered gets folded over part of the butter slab.

then the top 1/3 comees down on top butter side down creating three layers of dough and butter.

Turn the dough 90 degress, gotta pinch down the sides it says.

Then we roll it out to another 18x8 rectangle and fold it the same way again.


if you can see though my arm, you can see how its folded.
 After rolling it out and folding it twice it needs to go into the fridge to relax the gluten and chill the butter again. After folding a total of 4 times (and resting again) it is ready to be rolled out. I gotta roll it into a 24x12 inch rectangle.
It was too big for my board i was working on so i switched to the laminate countertop. I cut the rectangle in half, half for croissants half for pan au chocolat. I cut my lovely triangles

Now to rolling. Cut the back a little.

Start rolling from the inside corners out


Tee da! now dont forget to shape it


Look, I even made a video of how to roll a croissant!
 So look: the one on the left is my first one and the joy of cooking method, one of the right is one of my last ones after looking up how to on youtube and coppied the guy who i could not understand.
Now pan au chocolat is simpler with just being squares all rolled up with an egg  was at the end seam to seal things up.

 Chocolate on one side, roll over

 and make sure the seam is on the bottom or it will unravel
 I tried to do it with strawberry jam, but the jam is a bit runny. its still really really pretty.
 After rolling eveyone out have it sit at room temp for an hour and a half-dont stick it in the oven on the bread proofing setting or the butter will start to melt. Also, dont forget to give it a nice egg wash for a beautiful golden color.


Nom. It turned out quite good. I am saving them for breakfast, but boy do i want some now!

I saved a couple and put them raw in the frezzer for later. all i have to do is pull them a day before and left them defrost and ill have fresh croissants later.

Really not that hard, I used the Joy of Cooking recipe...anyone have a favorite croissant recipe? I'd love to hear how it goes if anyone is brave enough to try!