Showing posts with label benchwork. Show all posts

Tuesday, May 8, 2012

Fabricating a Bright Cut Pendant

Hello there! Been a while, eh? I've been very busy at my bench. One of my recent projects was this fabricated opal pendant. I started with 12 gauge silver sheet soldered to a back plate (20 gauge) and half bezel. I had to make sure my silver was thicker than the stones I was trying to set. Once I was done soldering I cut it out and got this:


 No holes for stones, though. Next I placed the stones and drilled starter holes for them. I'm testing the piece out to see if i've got thing spaced well.


Next I open up the holes with a flame bur then a setting bur to create a seat. Most my seats are a tad small so I use a knife graver to open it up enough to fit a stone.

 After getting everyone to fit I take my graver tip press it into the metal then tilt the tip up: I do not cut, I simply wedge metal over the stones. This is the beginning of the bead process.
 Next I cut a little V behind each bead to "release it." They are ugly at this point, but once I polish and shaped them with a beading tool we have pretty little beads


 Once all beads are finished I am now bead set. I then take my flat graver and cut behind the beads to clean things up, remove stray marks, and create nice angled surfaces to reflect extra light. This is bright cutting and together it is called "bright set." There are many variations of bright set but the main idea is the setting surface has been angled so that it reflects more light creating a "brighter" look.


The opal setting was quite tight already, but just to be extra safe since it was just a half bezel I epoxied AND  set metal over the stone. I pretty happy with the finished product, though the bright setting could be a little cleaner. Also: don't bright set periot. Just. Don't.


Wednesday, October 12, 2011

How To: Open a Bezel

Has it ever happened to you that a customer wants you to change the stone in a setting, but wants both parts saved? Or maybe while you finish setting your stone you break off part of the piece. Never happens, right? Well, lets say it DOES happen one day. How are you going to get your stone out safely?

Let me show you my little trick. I'm going to take this boring piece and pull it apart.

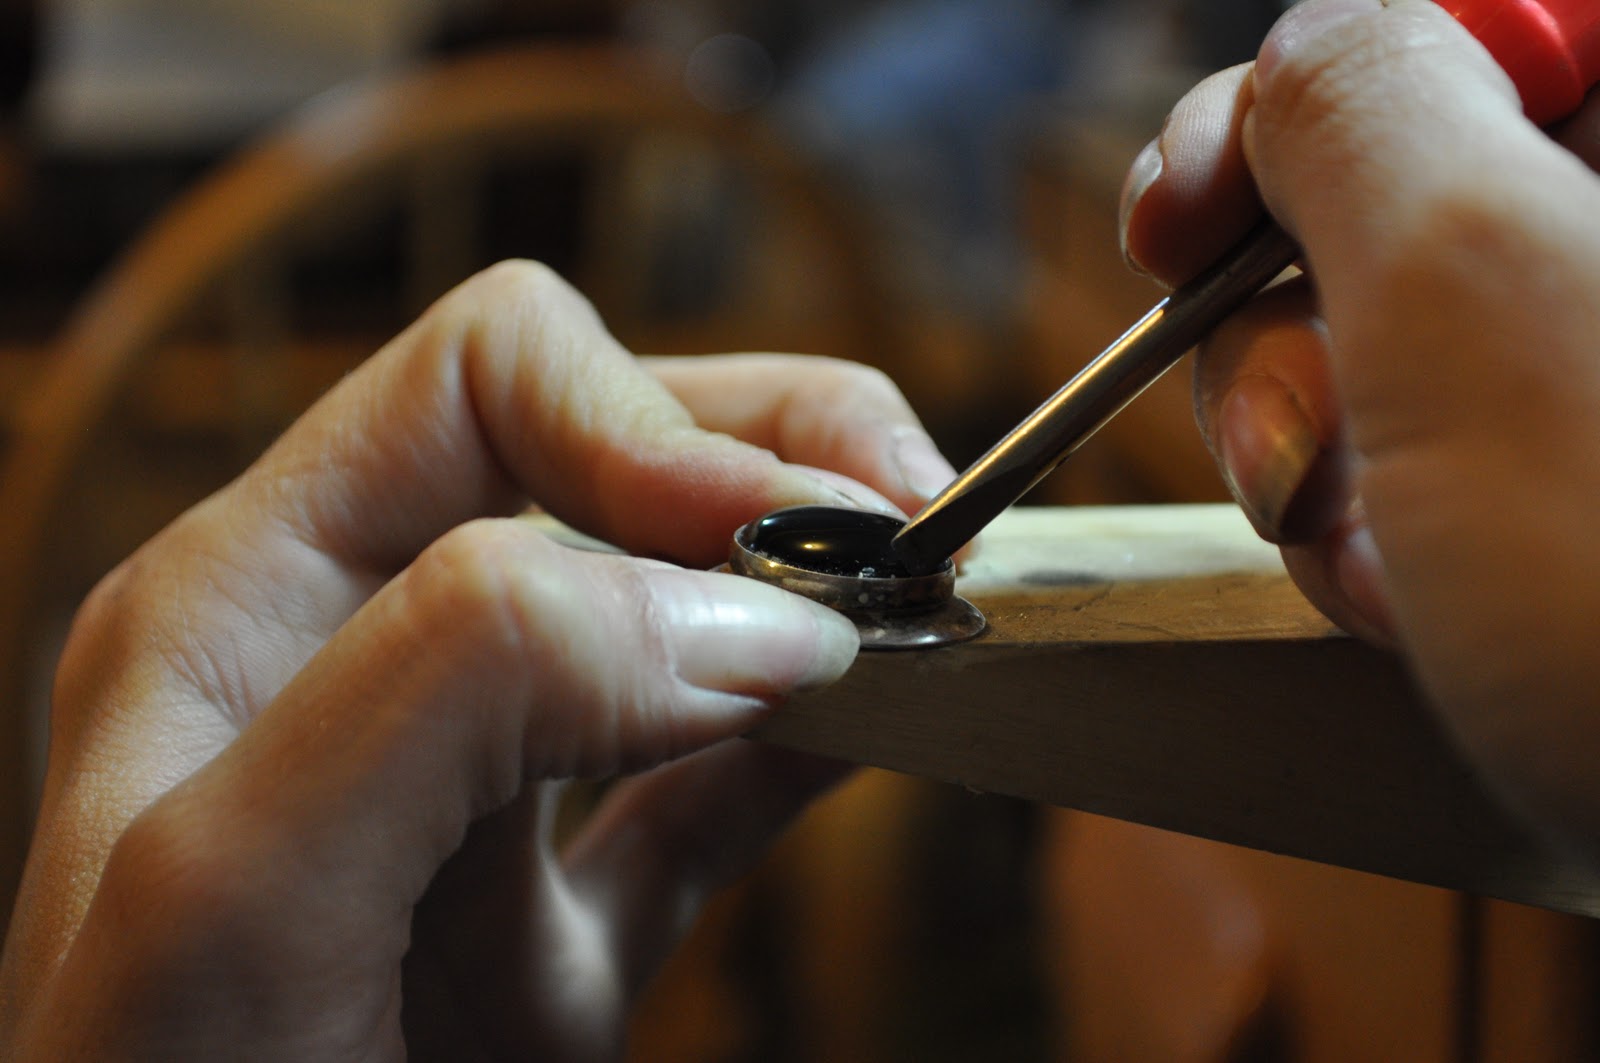
 The important part is the tool you use. I had modified this screwdriver years ago as a makeshift rivet starter....didn't work so well. But it work GREAT for opening up bezels.

 You see how I sharpened up the tip? One side is pretty flat while the other tapers into that side. The flat side should go next to the stone as you open up the bezel, that way you wont scratch your stone.
 So start by slipping the corner of your screwdriver in between the stone and the bezel. Again, your flat side is going to help you get super close to the stone and wedge the bezel open. Wiggle the screwdriver gently to get it to start opening up.
 Once you get it open a little, slip your screwdriver deeper into the bezel and at a 45 degree angle slide your tool along the inside of the bezel.
Viola! The bezel is open with no damage to the stone, and minimal damage to the bezel!

 Go ahead, pop out that stone and you are done! And all it took was 1 minute of careful work.
Man, that was kinda fun. Anyone have some bezels they need opened? Anyone?

Friday, June 24, 2011

Erikas Design Process

I make no claims to be a trained artist. Infact, most of my sense of design is purely instinct. When I work on a new piece i have several days of designing: sometimes i draw out the idea, sometimes i just move around the stonest themselves. I had a nice turquoise i wanted to pair with an opal, but i hade a bit of trouble figuring out what to do and how to so it. I did a small sketch, but it wasnt enough to fill in all the design holes. So I played with the stones i had until i saw something I liked. Here are three possibilities:
 I still like this one....

Ever so slightly different
But I went with this one. 

Now the question: where to I put the chain?

Tippy top?

Middle of the top?
Through the accent stones? IF i went with this design I would have to have the opal stationary-and my problem was I couldn't see how to connect the opal to the turquoise.
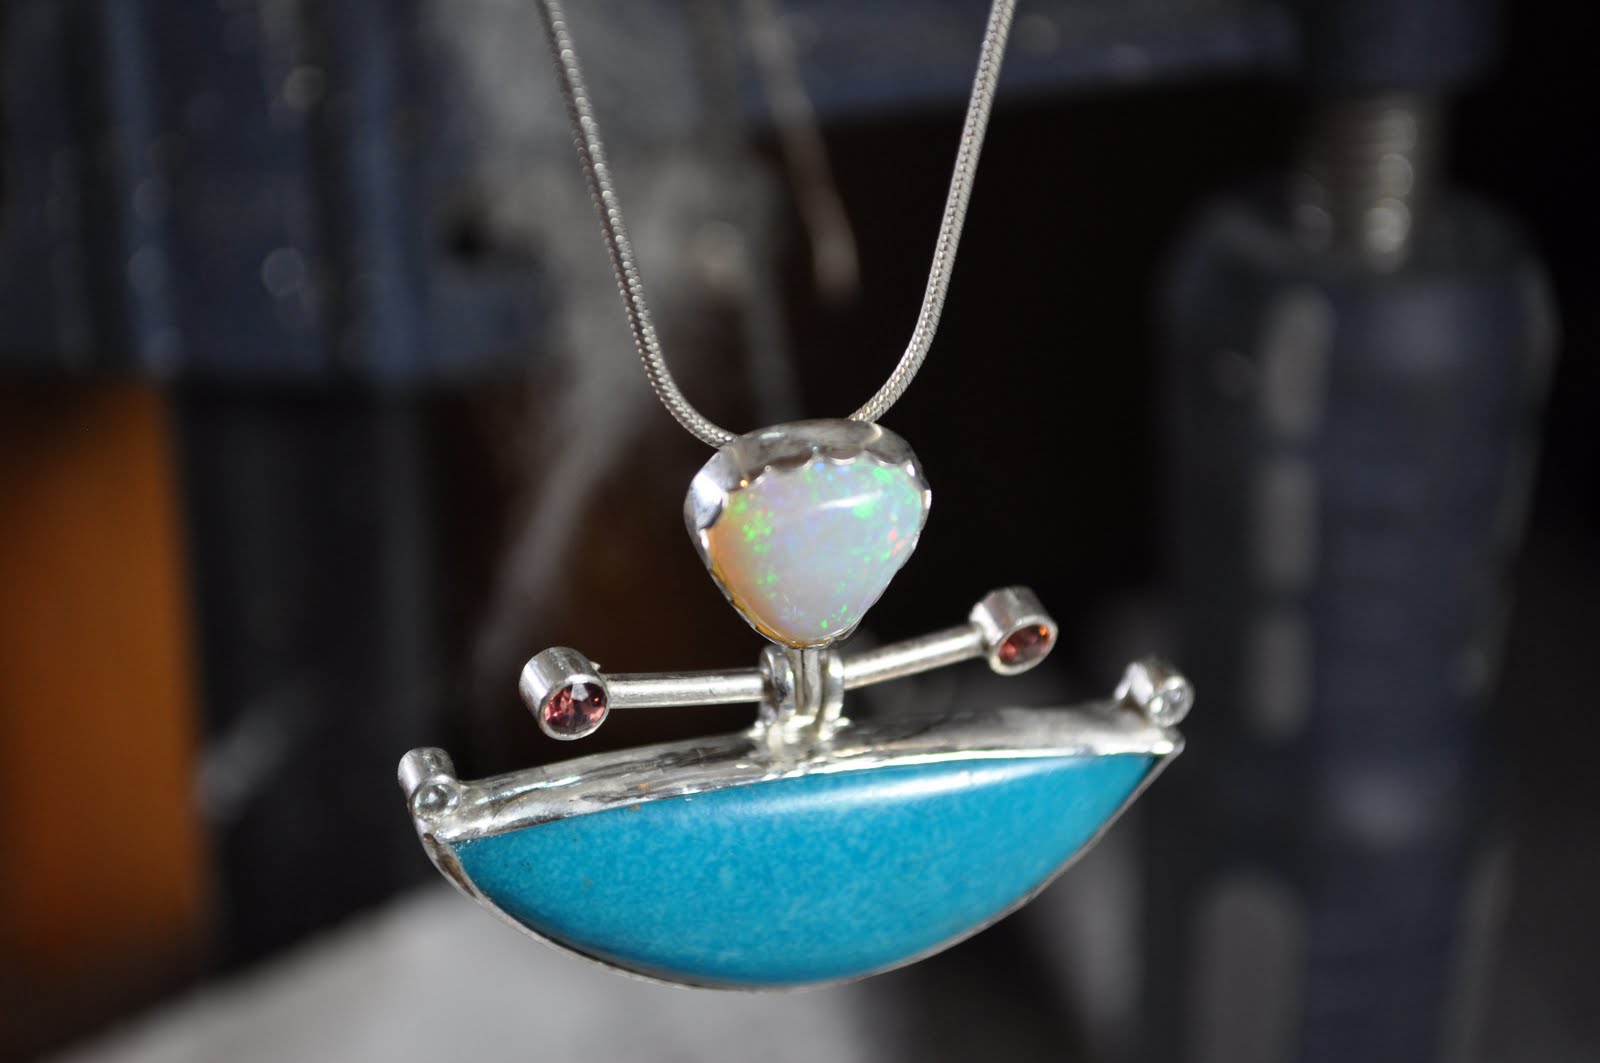
Finally, I decided to go through the top and connect the two stones with a rod....this also created lots of design possibilities. Big rod? Small one? Beads on the end? Gold or Silver? Though I almost went with gold accents out of nowhere i decided to use two rhodocrosite garnets.


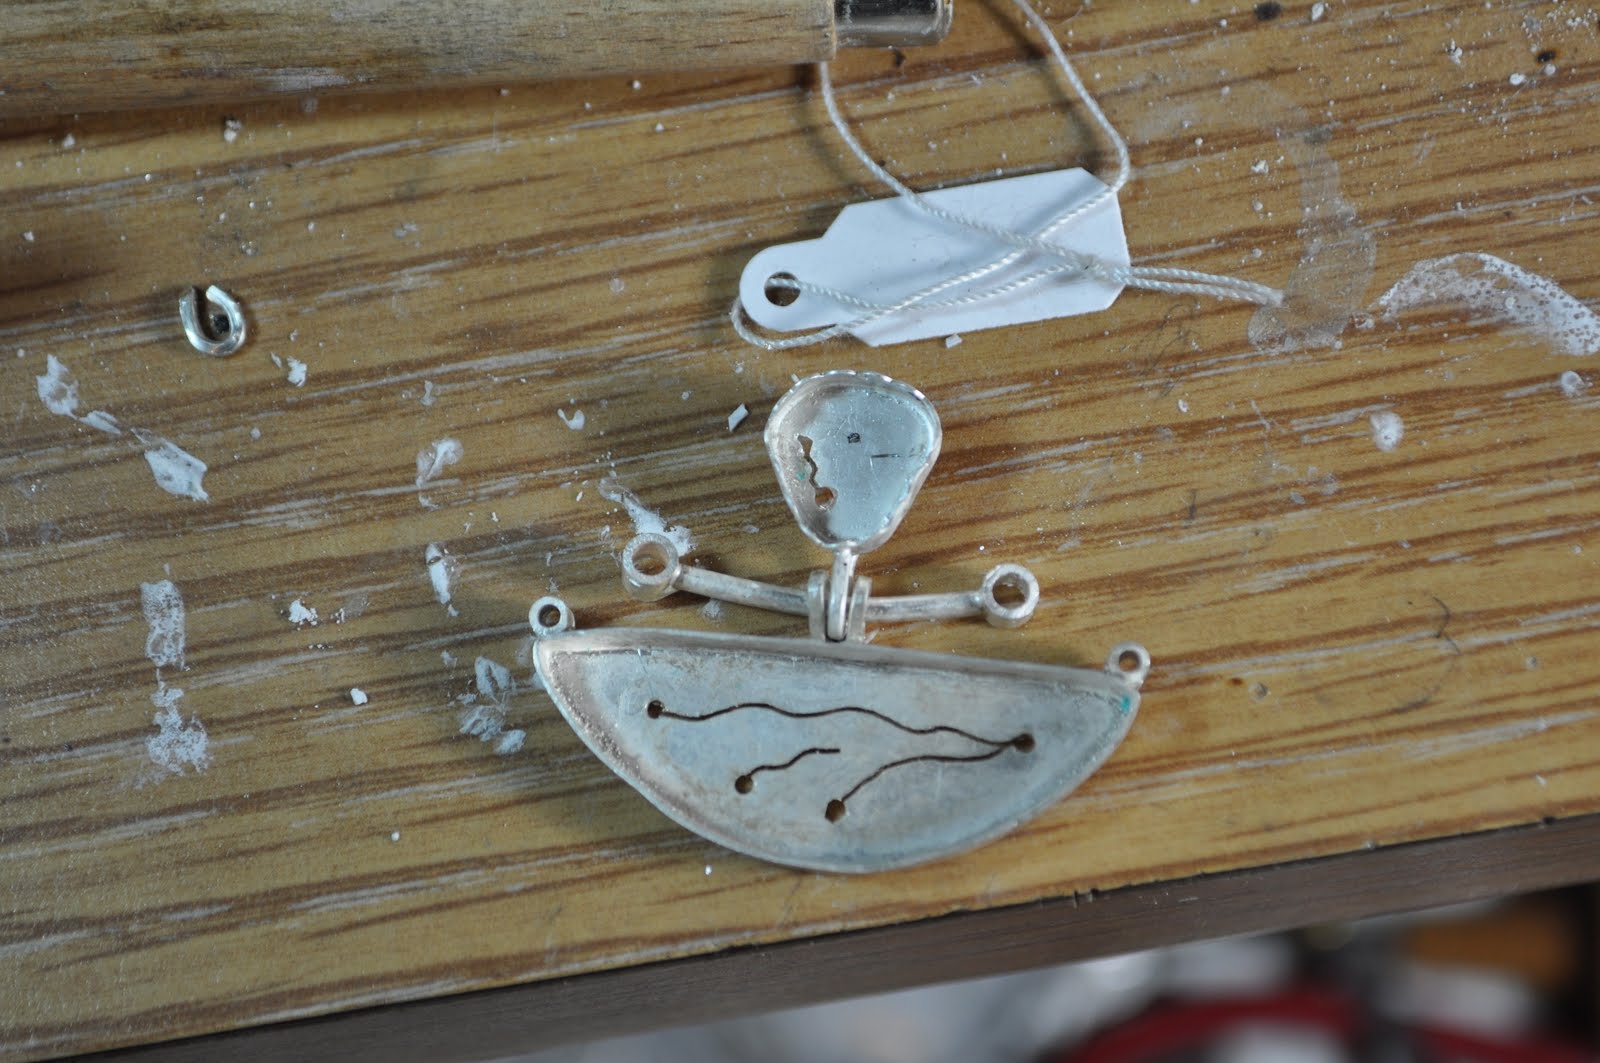
Here is the setting waiting for the stones.


Finished piece. Well, almost, still needs a final polish but its not to bad for an afternoons work.

BTW This is the original piece of opal I cut that one from. I actually got THREE different pieces of jewelry from this one stone.

Monday, March 28, 2011

How to: Patina Silver at Home

I do not have liver of sulfer, the most common silver tarnishing compound. So when I read the other day that one can use over-boiled eggs to give a patina to silver, I had to try. First things first: you have to boil and egg until it starts to turn green inside. So, maybe 20-25 minutes rather than 15. All you need is the yolk, so give the whites to your niece who loves hard boiled eggs. Squish up the yolk and put it in a container with the silver and close it up.

After half an hour it was starting to tarnish a little. I dont thin i boiled my enough...plus the organic free range eggs arn't as sulfry as corprate eggs imho...

An hour later its changing color

The next morning its dark. I polished up what i wanted and the piece had nice details. If you ever find yourself in need of a silver patina but without your liver of sulfer this is a great, cheap eco-friendly way to do it.
I ended up having to solder the piece again and toss it in the pickle, which removed the patina. Oh well.
The finished piece. Again I used Ethiopian opal that I cut by hand and a paridot cab. A fun paisley ring.

Tuesday, March 22, 2011

Cacoxenite in Amethyst Pin-The Making Of

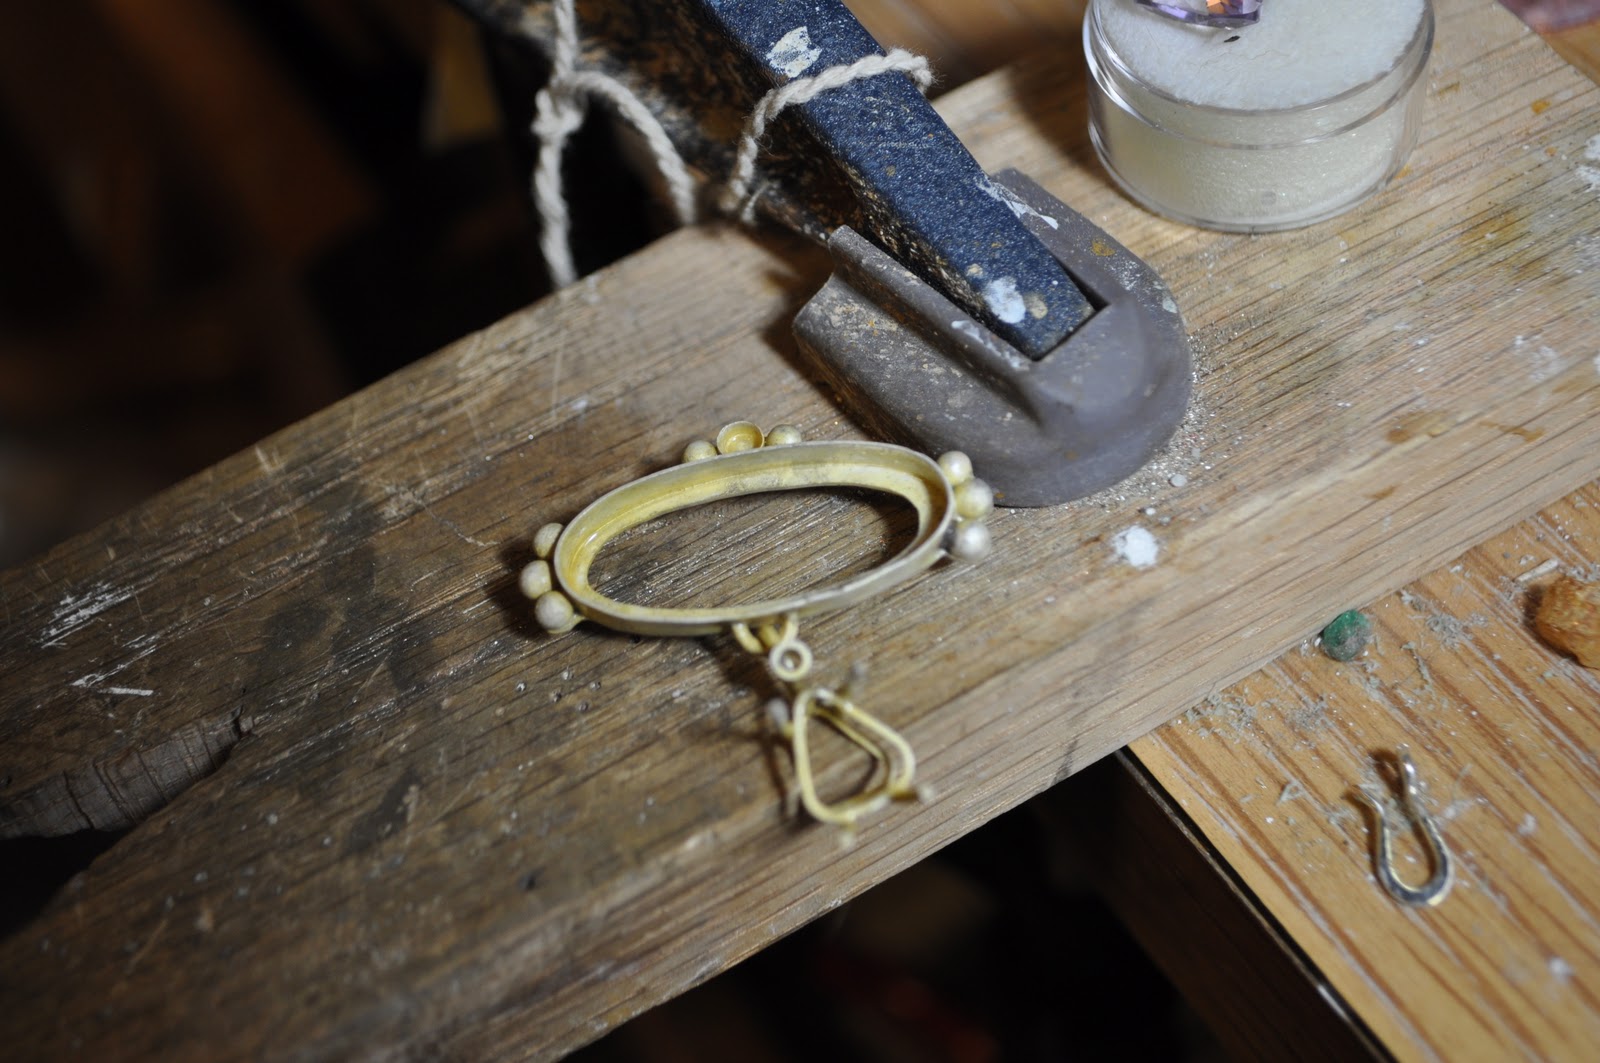
Last week I bought some new stones. Right away I wanted to create the setting for my cacoxenite amethyst. First, though, I had a crooked cut trilliant/pear shaped amethyst i had to make a basket setting for. Well, honestly I have never created a full basket setting.  Sure, my raw opal pendant is a basket, but it doesnt have two galleries...only one. Plus, being raw opal I didnt feel the need to make the baskets perfect---because the stones weren't! Alright, so this creating this basket I knew was going to be a challenge. First I created the upper and lower galleries (aka, the triangley shapes) Then, since i used thinner gauge wire for the gallery i notched the thicker wires for the prongs where i wanted to solder the gallery.

Most jewelers using binding wire or stab the wire into a charcol block because tweezers act as heat sinks...but i suck at using binding wire, so I'm using tweezers to hold my wires in place. I started with hard on all these joints.

Again I notched the wire where the second gallery is to lay. 3 of the 4 joints in the first solder where touching, so i soldered those three still using hard. The 4th joint i adjusted a little to make contact and moved to medium solder to keep my other joints from opening.

In the mean time, I was building the main piece. My little beads for the bezel.

Look! It fits!

The bezel is ready, too...now i have to create a bail and attatch them

Once I got the bail on I finally cut the excess wire off the back end.

Sadly, The bail was a little long and looked funny, so I added some tubing for an accent stone.

It don't loook funny no more! All soldered together.

Now to polish...There were lots of hard to reash stops that my polishing wheels couldnt reach, so I had to polish using thread with tripoli on it.

All polished up.

Almost done, but that darn accent amethyst on top keeps falling off my bench and disappearing! My niece managed to find it the first time.


All set and all finished.

Very classical in design with a modern stone. I decided to go with a style that wont be passe in ten years. This one is going into the CMAG Spring Jewelry show.

Wednesday, March 9, 2011

Work in Progress


Yeah, and my radio station is still classic rock. It's the only station i can pick up, but luckily I have inherited some country cds from my Grandma, so I'll be honkeytonking around my bench soon enough. Anyway, I spied some sexy stones over at Handleys the otherday and decided to pick them up...plus an extra stone. Join me as I design a piece.

Let me say about myself, I am not formally trained in design. I grew up surrounded by fine art and have a pretty keen instinct as to what looks good, but the process of design is pretty organic. Sometimes I know right away what I want, like this piece, othertimes I'm not totally sure so I design as I go. This is how I work some of the times.
Three matching calcedony and a lovely rutilated quartz
At first I was thinking maybe putting the rutilated quartz with this fantastic set of calcedony, but eventually decided on garnet.
Hum....im thinking something along the lines of this....

Alright, i wasnt totally sure about the design, something wasn't groovin'...so i decided to do the main piece first, then the settings for the two smaller stones depending on how everything worked out.
The other item i got was a planishing hammer. I LOVE the mark that a planishing hammer leaves on metal and have been wishing for one for quite a while. I decided to use my new tool to texturize the silver. Additionally, I decided not to cut out the back bezel. I felt like the textured silver kinda sparkled behind the calcedony, so I will leave it closed. Hopefully it doesnt tarnish too quickly.

I actually was terribly spaced out when I soldered the bezel to the silver backing....and accidently melted the bezel. boohoo.

yeah, something along these lines. now how will i attach it to the chain. hurm.....I'll figure that out later. I have an inclination to do something different with the tubeing...but nothing with the tubing is really making me satisfied. Part of the problem is the garnet bezel is on a different plane from the rest of the piece, and its making it difficult to design around. I suppose i'll just drop the tubing idea. Now I make the other two settings.
Yup, thats them being soldered.

There we go! Now I just need the right kind of chain (or to make some myself), polish up the silver and set the stones. I can't wait for it be done!
While I worked my dog was keeping watch. Watching adorably at that.
How do you design? Do you draw out your design and stick with it, or do you start working without a design and just see what happens? What are some of your favorite designs? You do you look for inspiration?