Showing posts with label food. Show all posts

Friday, October 21, 2011

How to: Make Grape Juice


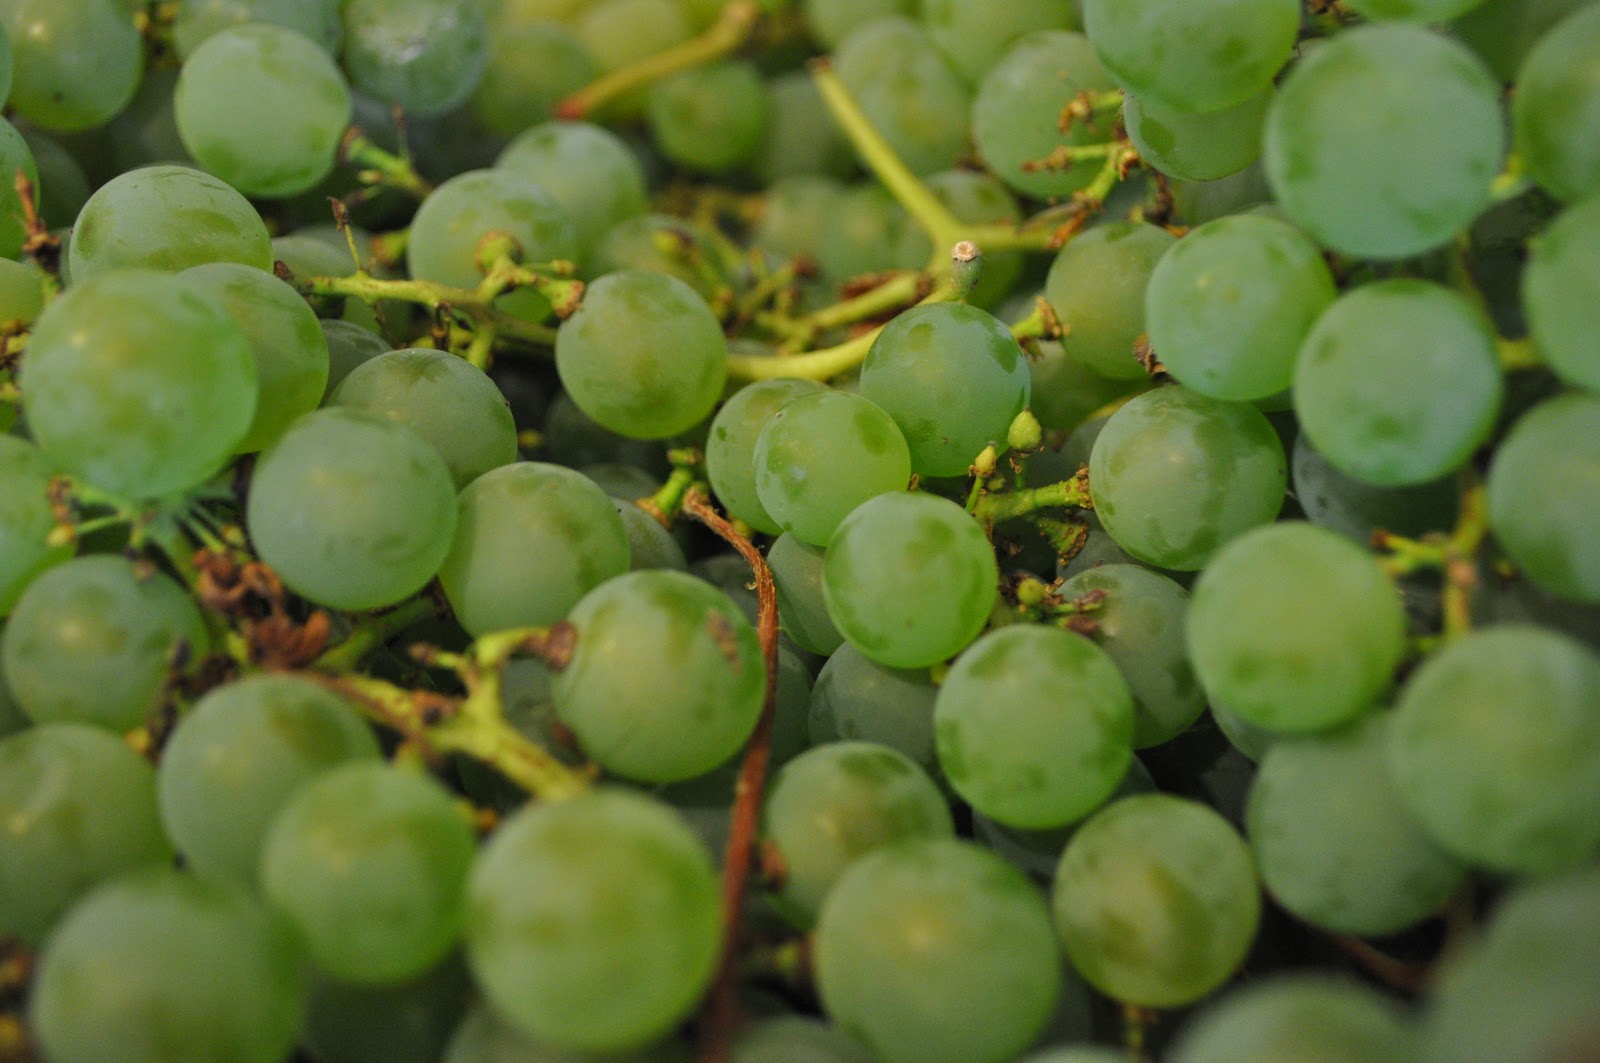
 Welcome! Today, rather than my bench we shall make grape juice. First, Get yourself some grapes! Okay, more than some. ALOT of grapes...as in several pounds. Grapes don't give off that much juice, so I would suggest buying from a farmer rather than a grocery store. Don't worry if it has seeds, they arn't a problem for us.

I have some variety of white grape from the farm. My boyfriends dad planted it years ago and this spring the sheep "pruned" it back. Thanks to the pruning the vine grew like crazy and is loaded with fruit.

 Now rinse them and look for spidery/caterpillary stuff and rotting grapes. Get those out of the way
 Run your fingers down the stems and gently pull the grapes off. Don't worry if you squish a few, just try not to get too much stem in the pot. I destemed a couple pounds in a matter of minutes. Once you have your pot full crush your grapes, then you should have room for more in the pot.
 Bring to a boil and them simmer the crushed grapes for 10 minutes, continuing to crush the whole one occasionally. Once you have them crushed and cooked pour a ladle or two into a colander lined with cheese cloth with a bowl underneath the collander to catch the juice.

 Let it drip then once the dripping gets slow take up the corners of the cheese cloth and carefully squeeze. DON"T squeeze the mush out the top of your cheese cloth onto the wall. Not that that ever has happened. To me at least. ....
Yum?


Anyway, gently squeeze the juice out and once you arn't getting much juice toss that pile of mush into your compost or around your flowers. Its good stuff. I found rinsing the mush off the cheesecloth between each use made it go faster, but that's just me.
Now I understand why people stomp grapes. arrrrrggg!!
 Once you collect your juice pour it into a glass container and put it in the 'fridge for 12 hours to let the sediment settle. Once it settles pour off the juice into a pot, bring it to a boil, add your sugar if you wish and enjoy!

Saturday, July 16, 2011

How to: Make Jam

At this point, I am an Oregonian. So when the end of spring rolls around I can't wait to get my summer on. One way to celbrate is with berries. Yes, fresh Oregon berries. Few places can compare to our strawberries that are full of flavor and have to be eaten as quick as possible because they will litterally disintegrate before your eyes. This spring was so horribly wet and cold that we didn't get any berries until July! All the while I was languishing think, worry, waiting about missing out on my fresh berries. Luckily I got let off work early one day and went out with my family to pick strawberries. Yup, u-pick farms are quite common in the Portland area, and its great! In half an hour three of us picked 14 lbs of beautiful, perfect strawberries and it only cost $16.75

Perfection
So....what am I going to do with 14 lbs of strawberries? other than an orgy of strawberry related foodsits time for some fresh jam!


squish squish squish
I cleaned them and tossed a bunch in a big pot and gave my niece a chance to crush the bottom layer of berries. This year the berries were kinda sour because of all the rain. But its okay, because the high acid content make them store better and when they are a bit sour all the sugar in the jam balances out perfectly to make a not-to-sweet jam. I gently reduced the berries to inhance the flavor (normally you dont need to bother), then measured out the liquid once it was cooked (I had 5 cups). For this recipe it is equal parts sugar to equal parts berries so I poured in 5 cups sugar.

 Supposedly its better if you heat the sugar before pouring it in, I never have had trouble using my cold sugar.


Many recipes say to add a tsp. of lemon juice per cup of fruit to raise the acidity and stability of your jam. I added a dash because it seemed a pretty high acid content already.

After adding the sugar I cook it gently until it get hot enough to jel (if you boil too hard it will destroy the natural pectin). I never use a thermometer, I just look at how it drops off the spoon and then test it coolded down on a plate. When it is jelled it falls off the side of the spoon in two globs, not one stream. Additionally, I rarely ever use commertal pectin. If you can process you fruit within 24 hours of picking it usually retains some of the natural pectin in the fruit, and if you want to borrow some pectin from another fruit go ahead and use apple peals-they are chock full of pectin! Just dont forget to fish them out later... When using the natural pectin you jam wont be as solid as store-bought jam, but i think its a bit to gloppy anyway.

Once the jam has jelled drop it into sterilized jars and process in hot water for the right time period for your recipe. (Mine was 10 minutes)

Beeeeeautiful.

Awe gee...what to do with all these strawberries....?

Maybe...fruit leather?

Recipe for fruit leather:

Put your fruit in a small pot and heat to 190 degrees. After it is heated transfer to a blender and puree. For 1  cups of liquid add 1 tsp lemon juice and 1/4 cup sugar. Spread 1/4 inch thick on a lined sheet pan (don't use wax paper! it will stick to the leather. Use either a silicon pad or plactic wrap) and leave in a vented oven at 140 degress until dry.


yum.

Monday, June 27, 2011

Bake time: Croissants

I am not entirly sure why, but today I decided to bake, of all things, croissants. Well, I have done it once with mild success before so I guess I figured it would be no problem. Croissants are made with a laminated dough-basically layers of dough between layers of butter. To start off the butter has to be prepared. it is beaten from its stick form into a rectangle with a bit of flour incroperated into the butter (my recipe called for 3 sticks of butter, and 3 tablespoons flour)
Today I was be careful and actually sifted the flour before I measured it out, then i spooned it into my measuring cup. I am glad i did, because though I sifted three cups (i think) there was a alot more flour left over.


Let's spoon
The dough required a very quick kneading then sat for a bit in the fridge 
Gotta roll out the dough into a BIG rectangle

after making a nice 18x8 inch rectangle I took my big butter rectangle and covered 2/3 of the dough. Now the layering starts. The 1/3 that is uncovered gets folded over part of the butter slab.

then the top 1/3 comees down on top butter side down creating three layers of dough and butter.

Turn the dough 90 degress, gotta pinch down the sides it says.

Then we roll it out to another 18x8 rectangle and fold it the same way again.


if you can see though my arm, you can see how its folded.
 After rolling it out and folding it twice it needs to go into the fridge to relax the gluten and chill the butter again. After folding a total of 4 times (and resting again) it is ready to be rolled out. I gotta roll it into a 24x12 inch rectangle.
It was too big for my board i was working on so i switched to the laminate countertop. I cut the rectangle in half, half for croissants half for pan au chocolat. I cut my lovely triangles

Now to rolling. Cut the back a little.

Start rolling from the inside corners out


Tee da! now dont forget to shape it


Look, I even made a video of how to roll a croissant!
 So look: the one on the left is my first one and the joy of cooking method, one of the right is one of my last ones after looking up how to on youtube and coppied the guy who i could not understand.
Now pan au chocolat is simpler with just being squares all rolled up with an egg  was at the end seam to seal things up.

 Chocolate on one side, roll over

 and make sure the seam is on the bottom or it will unravel
 I tried to do it with strawberry jam, but the jam is a bit runny. its still really really pretty.
 After rolling eveyone out have it sit at room temp for an hour and a half-dont stick it in the oven on the bread proofing setting or the butter will start to melt. Also, dont forget to give it a nice egg wash for a beautiful golden color.


Nom. It turned out quite good. I am saving them for breakfast, but boy do i want some now!

I saved a couple and put them raw in the frezzer for later. all i have to do is pull them a day before and left them defrost and ill have fresh croissants later.

Really not that hard, I used the Joy of Cooking recipe...anyone have a favorite croissant recipe? I'd love to hear how it goes if anyone is brave enough to try!