Showing posts with label cooking. Show all posts

Friday, October 21, 2011

How to: Make Grape Juice


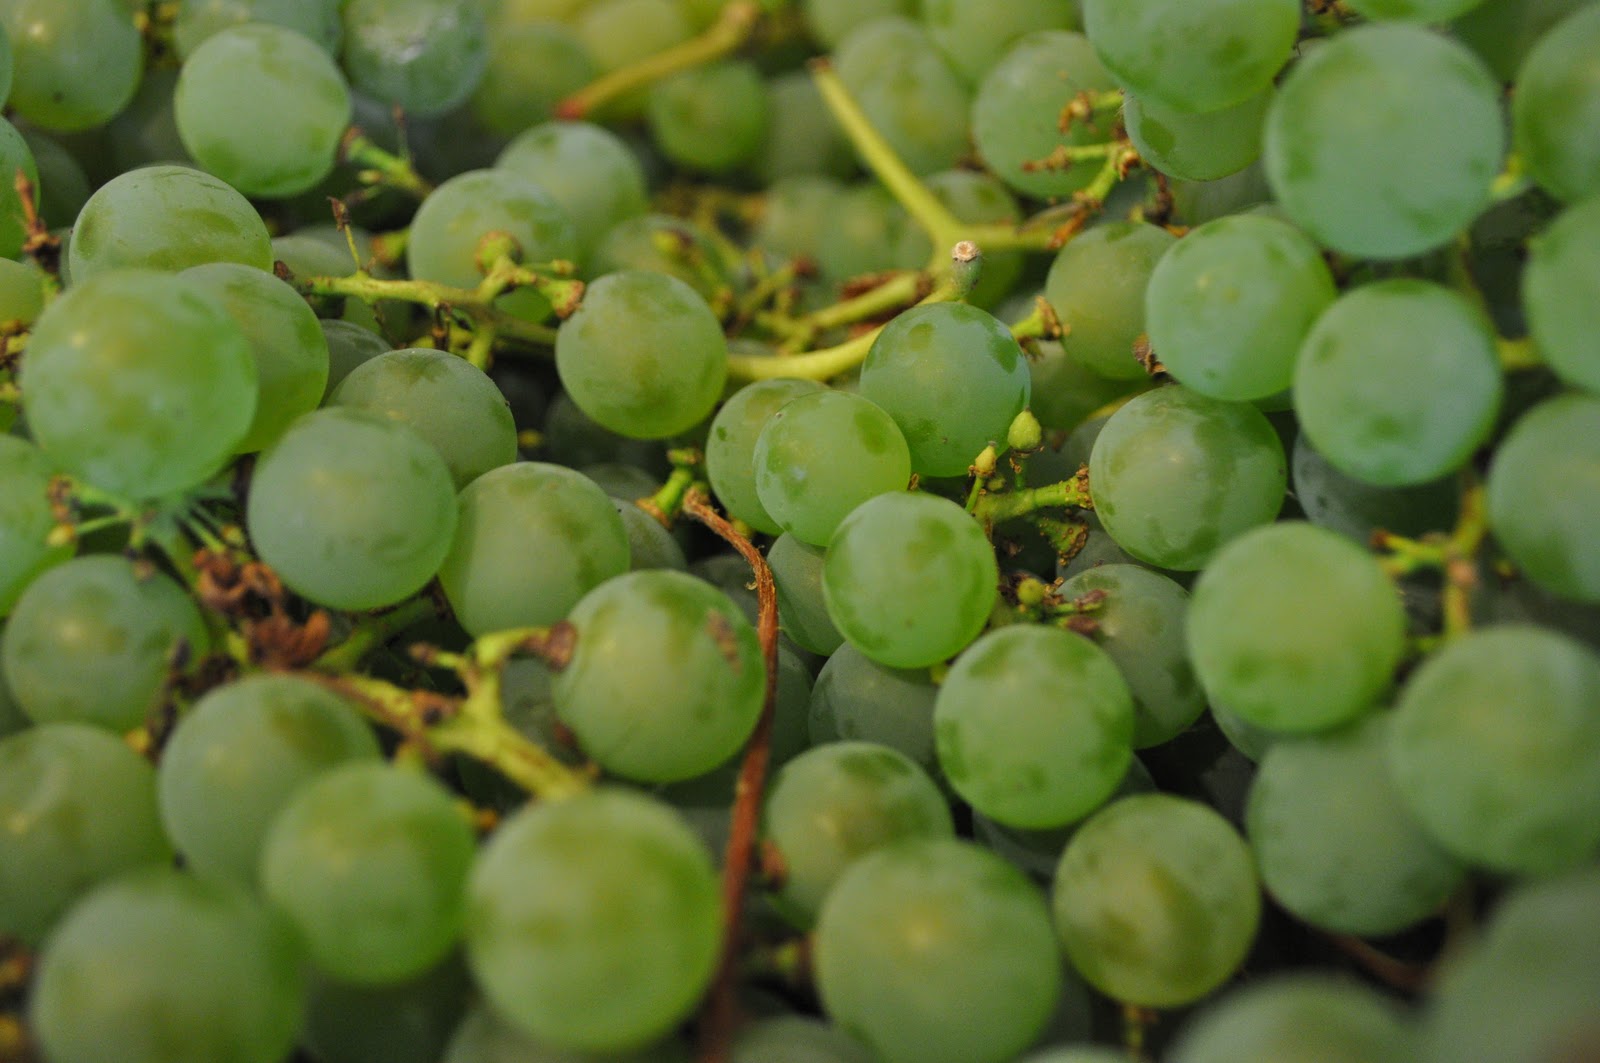
 Welcome! Today, rather than my bench we shall make grape juice. First, Get yourself some grapes! Okay, more than some. ALOT of grapes...as in several pounds. Grapes don't give off that much juice, so I would suggest buying from a farmer rather than a grocery store. Don't worry if it has seeds, they arn't a problem for us.

I have some variety of white grape from the farm. My boyfriends dad planted it years ago and this spring the sheep "pruned" it back. Thanks to the pruning the vine grew like crazy and is loaded with fruit.

 Now rinse them and look for spidery/caterpillary stuff and rotting grapes. Get those out of the way
 Run your fingers down the stems and gently pull the grapes off. Don't worry if you squish a few, just try not to get too much stem in the pot. I destemed a couple pounds in a matter of minutes. Once you have your pot full crush your grapes, then you should have room for more in the pot.
 Bring to a boil and them simmer the crushed grapes for 10 minutes, continuing to crush the whole one occasionally. Once you have them crushed and cooked pour a ladle or two into a colander lined with cheese cloth with a bowl underneath the collander to catch the juice.

 Let it drip then once the dripping gets slow take up the corners of the cheese cloth and carefully squeeze. DON"T squeeze the mush out the top of your cheese cloth onto the wall. Not that that ever has happened. To me at least. ....
Yum?


Anyway, gently squeeze the juice out and once you arn't getting much juice toss that pile of mush into your compost or around your flowers. Its good stuff. I found rinsing the mush off the cheesecloth between each use made it go faster, but that's just me.
Now I understand why people stomp grapes. arrrrrggg!!
 Once you collect your juice pour it into a glass container and put it in the 'fridge for 12 hours to let the sediment settle. Once it settles pour off the juice into a pot, bring it to a boil, add your sugar if you wish and enjoy!

Saturday, July 16, 2011

How to: Make Jam

At this point, I am an Oregonian. So when the end of spring rolls around I can't wait to get my summer on. One way to celbrate is with berries. Yes, fresh Oregon berries. Few places can compare to our strawberries that are full of flavor and have to be eaten as quick as possible because they will litterally disintegrate before your eyes. This spring was so horribly wet and cold that we didn't get any berries until July! All the while I was languishing think, worry, waiting about missing out on my fresh berries. Luckily I got let off work early one day and went out with my family to pick strawberries. Yup, u-pick farms are quite common in the Portland area, and its great! In half an hour three of us picked 14 lbs of beautiful, perfect strawberries and it only cost $16.75

Perfection
So....what am I going to do with 14 lbs of strawberries? other than an orgy of strawberry related foodsits time for some fresh jam!


squish squish squish
I cleaned them and tossed a bunch in a big pot and gave my niece a chance to crush the bottom layer of berries. This year the berries were kinda sour because of all the rain. But its okay, because the high acid content make them store better and when they are a bit sour all the sugar in the jam balances out perfectly to make a not-to-sweet jam. I gently reduced the berries to inhance the flavor (normally you dont need to bother), then measured out the liquid once it was cooked (I had 5 cups). For this recipe it is equal parts sugar to equal parts berries so I poured in 5 cups sugar.

 Supposedly its better if you heat the sugar before pouring it in, I never have had trouble using my cold sugar.


Many recipes say to add a tsp. of lemon juice per cup of fruit to raise the acidity and stability of your jam. I added a dash because it seemed a pretty high acid content already.

After adding the sugar I cook it gently until it get hot enough to jel (if you boil too hard it will destroy the natural pectin). I never use a thermometer, I just look at how it drops off the spoon and then test it coolded down on a plate. When it is jelled it falls off the side of the spoon in two globs, not one stream. Additionally, I rarely ever use commertal pectin. If you can process you fruit within 24 hours of picking it usually retains some of the natural pectin in the fruit, and if you want to borrow some pectin from another fruit go ahead and use apple peals-they are chock full of pectin! Just dont forget to fish them out later... When using the natural pectin you jam wont be as solid as store-bought jam, but i think its a bit to gloppy anyway.

Once the jam has jelled drop it into sterilized jars and process in hot water for the right time period for your recipe. (Mine was 10 minutes)

Beeeeeautiful.

Awe gee...what to do with all these strawberries....?

Maybe...fruit leather?

Recipe for fruit leather:

Put your fruit in a small pot and heat to 190 degrees. After it is heated transfer to a blender and puree. For 1  cups of liquid add 1 tsp lemon juice and 1/4 cup sugar. Spread 1/4 inch thick on a lined sheet pan (don't use wax paper! it will stick to the leather. Use either a silicon pad or plactic wrap) and leave in a vented oven at 140 degress until dry.


yum.

Monday, February 21, 2011

How To: Use a 1892 Cast Iron Waffleiron


This is something totally different from my jewelry work. I love to cook, and breakfast is one of my favorite meals. Anyone out there every pick up one of these babies from the antique store, or find one in Grandmas garage?
Meet my waffle iron:

This is one of my favorite cooking items partly due to novelty partly because it works so well. Its got a patent day of May 2, 1892 on it. So specific!  
Its a real beauty with turned wood handles and a cast iron holder. But it took me a while to figure out how to use it. As in I would try and then my waffle would get stuck and i would have to clean it out with a toothpick. Because I love all of you and want you all to be able to enjoy your old waffle iron. Make sure its clean of dust and grossness first, then heat up both sides of the waffle iron on the stove. Because the waffle iron is so heavy i add the egg yolks with the liquids and then beat the eggwhites to stiff and carefully incorperate into the batter. It adds extra air and fluffiness to the batter.

I always brush on a light layer of vegtable oil. Even though it is seasoned at this point, I never ever want to pick waffle out with a toothpick EVER again. Plus, it makes it crispier.

Before adding better toss a few drop of water on the iron, and if it splatters away it should be warm enough. Pour in your batter and you should hear it sizzle.

Take the other side of the iron, put it on quick and turn the waffle right away.
Flip it back over after a minute or two. Sometimes I have to flip it a few times before its cooked-but i like mine crispy on the outside. I wait until the steam is mostly gone.

Sometimes I add a slice of raw bacon to the batter before I close the iron.  The waffles stay much crispier than your usual teflon coated waffle irons create.

Bacon waffles? omnomnomnom

 Or, add peaches frozen during the summer, chopped walnuts and a bit of whipped cream.
See? This is what good food (and old fashioned waffle irons) make people feel:


Anyone else have a favorite archaic kitchen utensil? My other favorite is the meat grinder...you can make a mean cranberry relish with hardly any effort.