Now, the task at hand: making a holder for your burs. very simple. Mine will be able to hold 4 sizes of burs: from 1mm-4.9mm.Take a piece of wood about 2-3inches wide and 5-6 inches long. My pieces of pine are actually recycled from under the steamed fishcake we used at the Japanese resturant I used to work at, use whatever you can find.

Take a compass and mark 4 lines lengthwise down the wood. My compass was set at about 1/3 inch. Then make 10 marks down width wise.

Where each of those lines meet make a starting hole for the drill. My wood was soft enough i just used the tip of the compass, but harder wood will require and awl.

Get to drillin' with a bit the right size for your burs. I have some burs that have a thicker shank than the rest of my burs. Just make sure its a sung fit.

It helps to drill with a piece of scrap wood underneath if you are using an hand drill.

All drilled through.

I gave mine a light sandpapering to get rid of splinters.

Then, go get distracted and wander your winter garden photographing dead flowers for a minute or two.

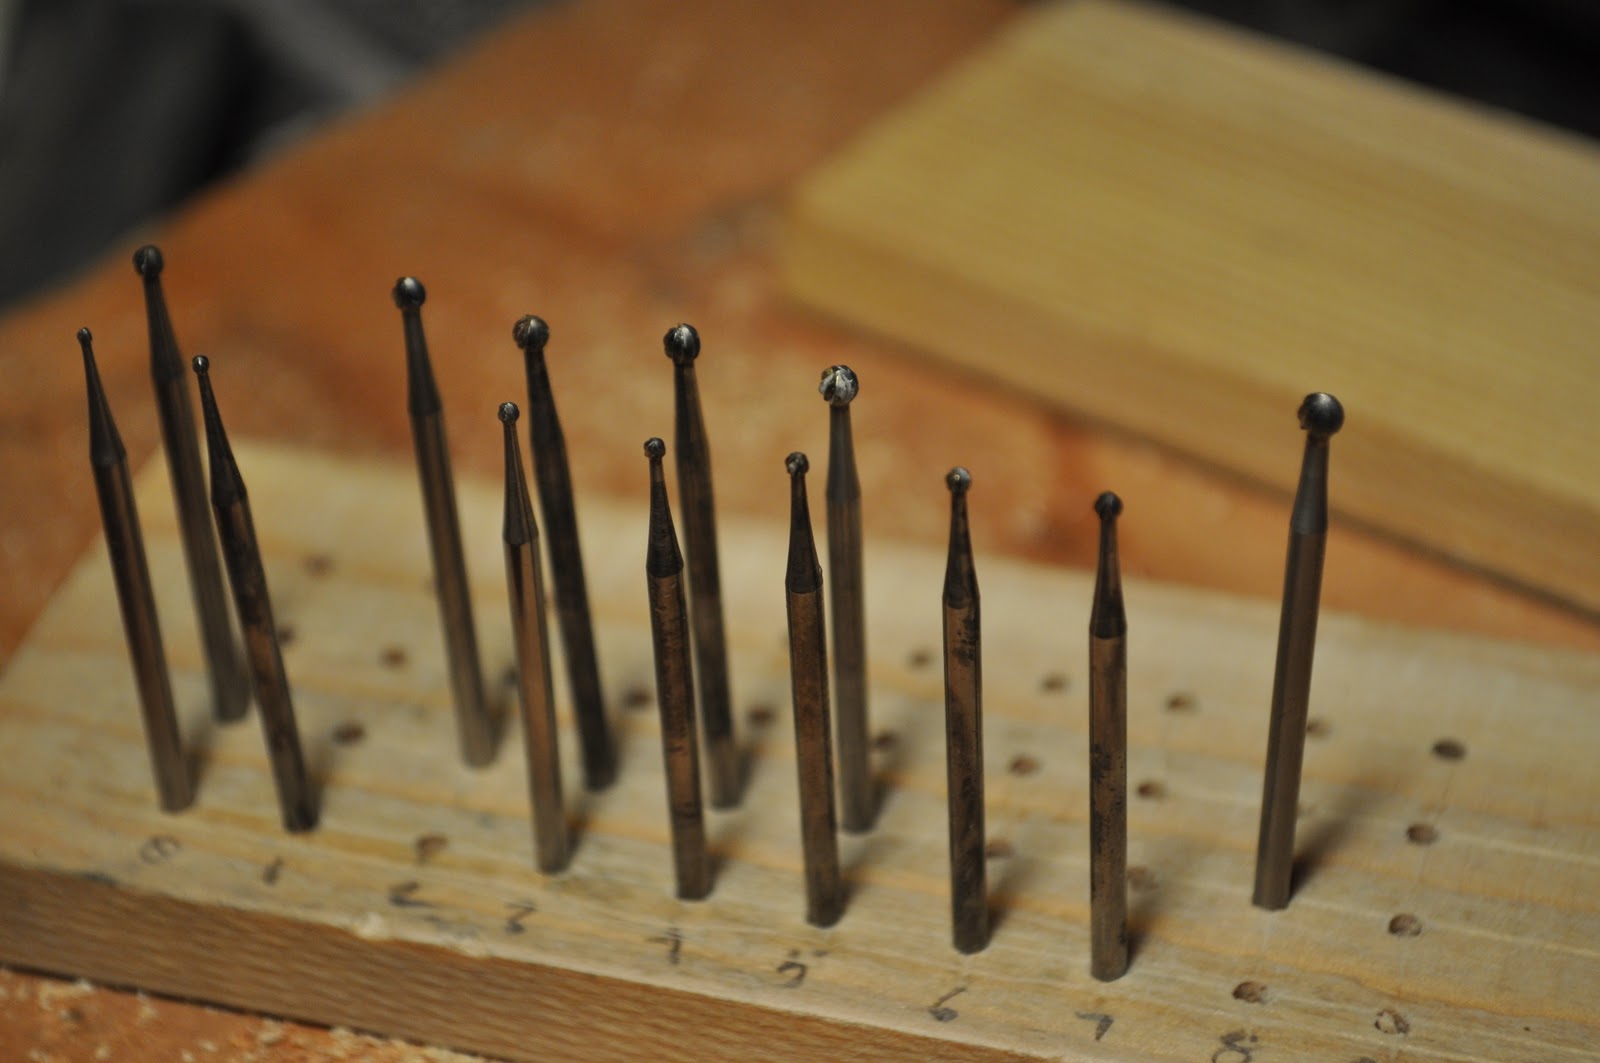
Alright, you good? Got your fresh air fix and another cup of coffee? Good. Now go through all of your burs and check the size of the bit. Spin it lightly to get a correct measurement of the burs size, and put them in your new handy-dandy homemade holder. The rows go by .1mm starting with 1.mm, 1.1mm, 1.2mm..for fine jewelry these size differences are pretty big. Some may even like their sets to go by .05mm.

See, my set isn't complete. But its organized now and I know what sizes im missing!
My collection. Hart burs with hart burs, flame burs with flame burs, ball with ball...even my polishing supplies are together.

Yippe! Now we can look back and feel good.
One more tip about burs: when a bur tip breaks off, you can still use the metal shank for a new tool. Shape it for a small graver, or use it for a setting tool. Dont let good tool steel go to waste!
What have you guys made at your bench? Are any of your home-made tools your favorite?

No comments:
Post a Comment