Showing posts with label fabrication. Show all posts

Friday, June 24, 2011

Erikas Design Process

I make no claims to be a trained artist. Infact, most of my sense of design is purely instinct. When I work on a new piece i have several days of designing: sometimes i draw out the idea, sometimes i just move around the stonest themselves. I had a nice turquoise i wanted to pair with an opal, but i hade a bit of trouble figuring out what to do and how to so it. I did a small sketch, but it wasnt enough to fill in all the design holes. So I played with the stones i had until i saw something I liked. Here are three possibilities:
 I still like this one....

Ever so slightly different
But I went with this one. 

Now the question: where to I put the chain?

Tippy top?

Middle of the top?
Through the accent stones? IF i went with this design I would have to have the opal stationary-and my problem was I couldn't see how to connect the opal to the turquoise.
Finally, I decided to go through the top and connect the two stones with a rod....this also created lots of design possibilities. Big rod? Small one? Beads on the end? Gold or Silver? Though I almost went with gold accents out of nowhere i decided to use two rhodocrosite garnets.
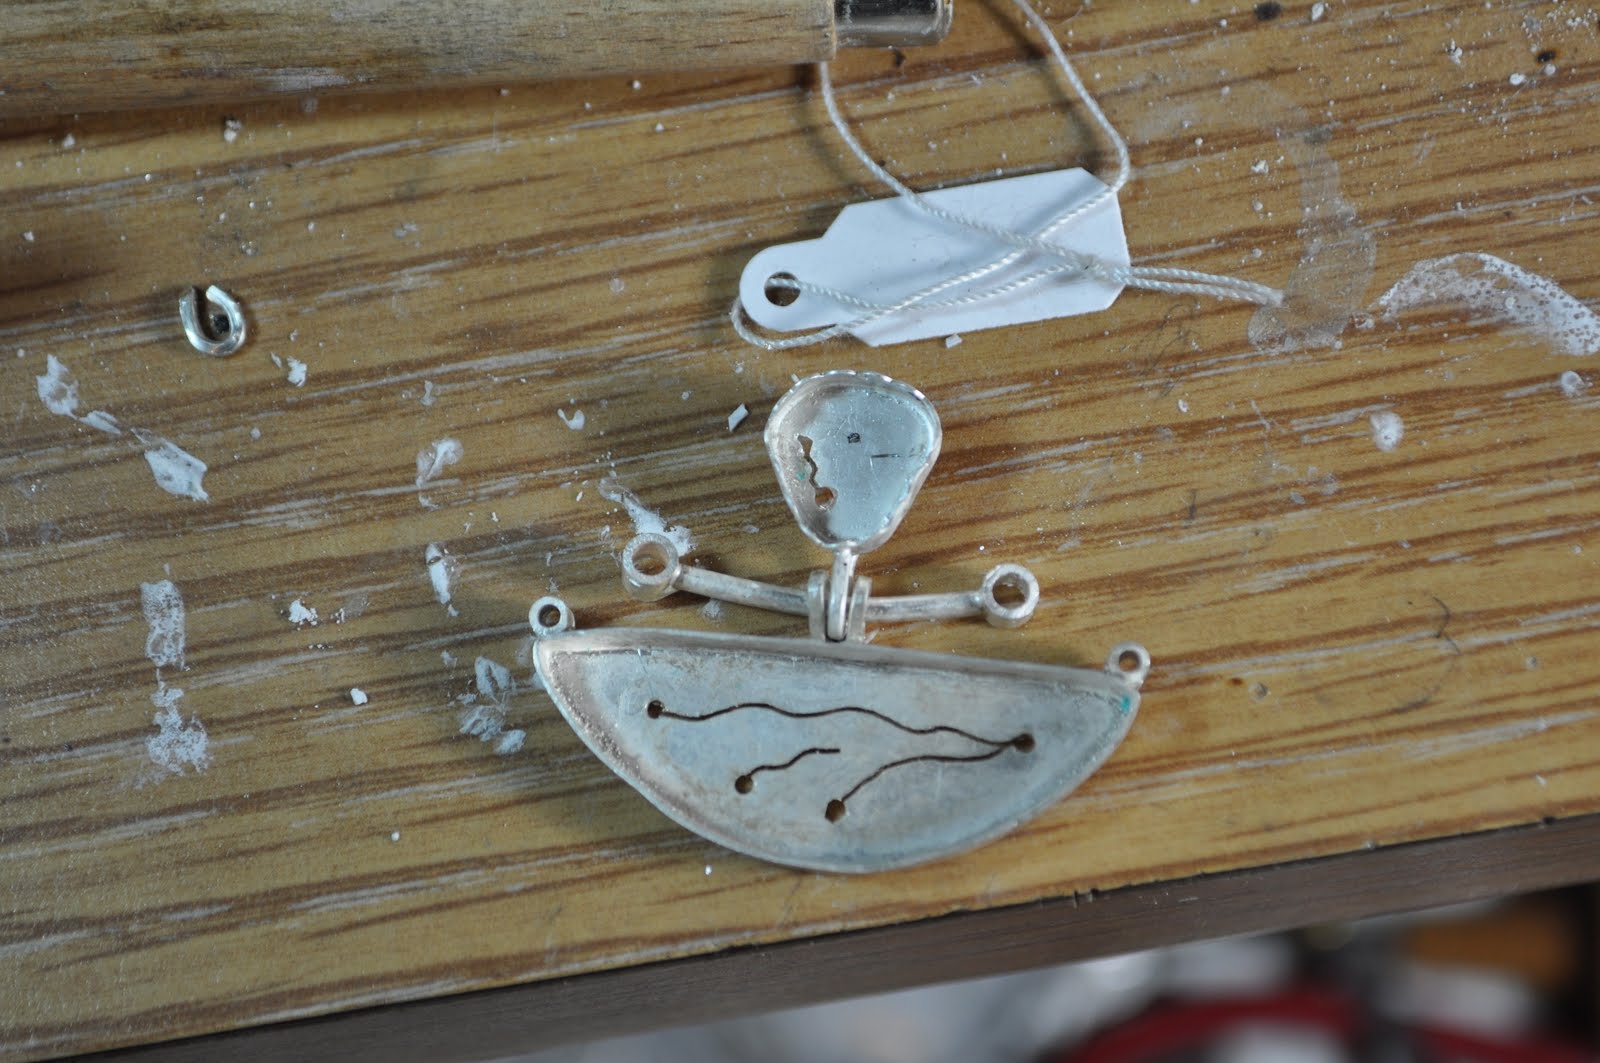

Here is the setting waiting for the stones.
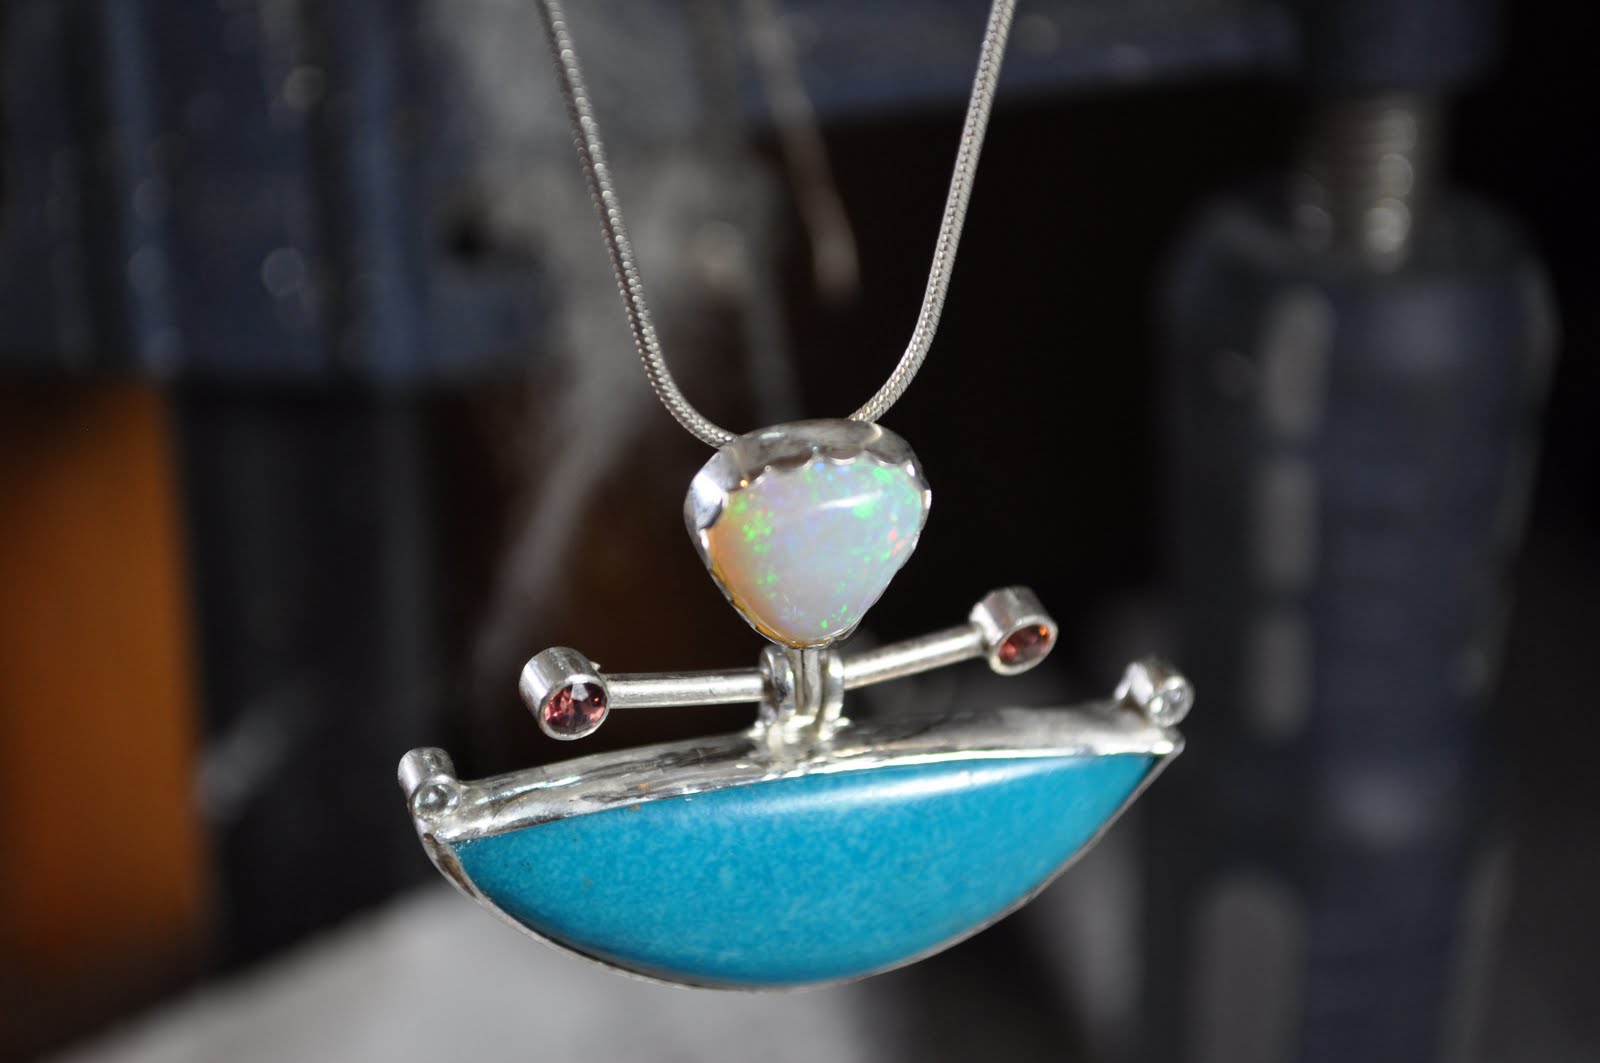

Finished piece. Well, almost, still needs a final polish but its not to bad for an afternoons work.

BTW This is the original piece of opal I cut that one from. I actually got THREE different pieces of jewelry from this one stone.

Tuesday, March 22, 2011

Cacoxenite in Amethyst Pin-The Making Of

Last week I bought some new stones. Right away I wanted to create the setting for my cacoxenite amethyst. First, though, I had a crooked cut trilliant/pear shaped amethyst i had to make a basket setting for. Well, honestly I have never created a full basket setting.  Sure, my raw opal pendant is a basket, but it doesnt have two galleries...only one. Plus, being raw opal I didnt feel the need to make the baskets perfect---because the stones weren't! Alright, so this creating this basket I knew was going to be a challenge. First I created the upper and lower galleries (aka, the triangley shapes) Then, since i used thinner gauge wire for the gallery i notched the thicker wires for the prongs where i wanted to solder the gallery.

Most jewelers using binding wire or stab the wire into a charcol block because tweezers act as heat sinks...but i suck at using binding wire, so I'm using tweezers to hold my wires in place. I started with hard on all these joints.

Again I notched the wire where the second gallery is to lay. 3 of the 4 joints in the first solder where touching, so i soldered those three still using hard. The 4th joint i adjusted a little to make contact and moved to medium solder to keep my other joints from opening.

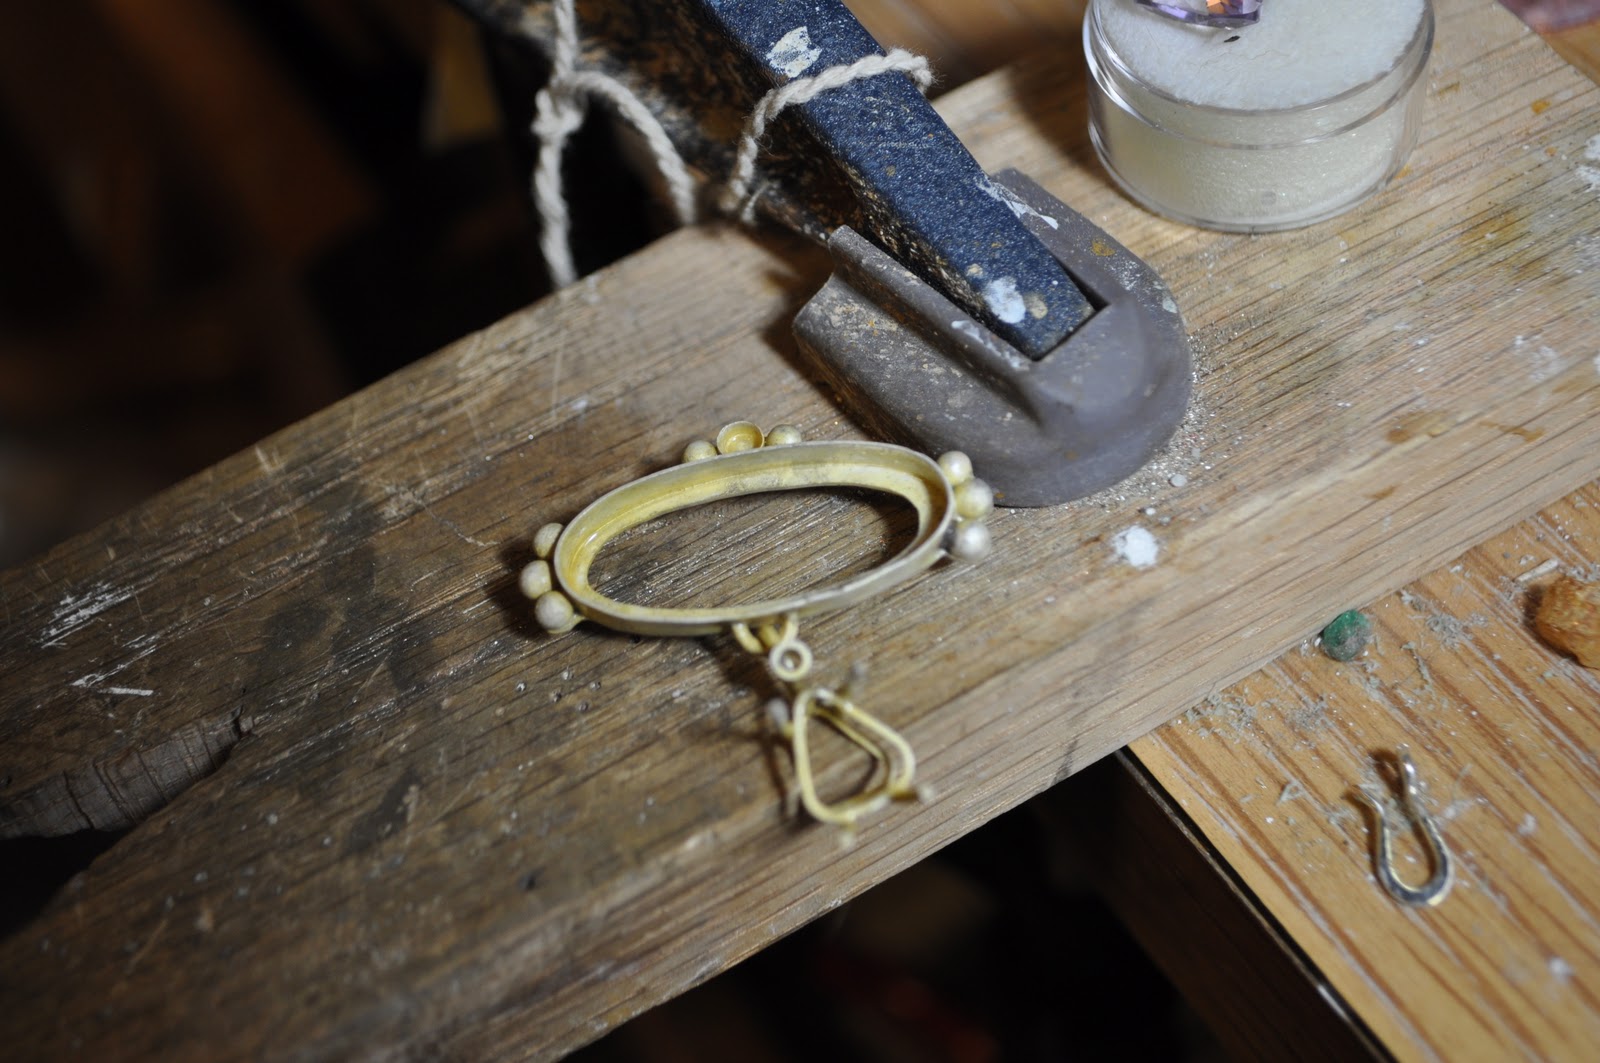
In the mean time, I was building the main piece. My little beads for the bezel.

Look! It fits!

The bezel is ready, too...now i have to create a bail and attatch them

Once I got the bail on I finally cut the excess wire off the back end.

Sadly, The bail was a little long and looked funny, so I added some tubing for an accent stone.

It don't loook funny no more! All soldered together.

Now to polish...There were lots of hard to reash stops that my polishing wheels couldnt reach, so I had to polish using thread with tripoli on it.

All polished up.

Almost done, but that darn accent amethyst on top keeps falling off my bench and disappearing! My niece managed to find it the first time.


All set and all finished.

Very classical in design with a modern stone. I decided to go with a style that wont be passe in ten years. This one is going into the CMAG Spring Jewelry show.

Saturday, January 15, 2011

Spinning Trilobite Pendant

This is a lovely piece that I put together pretty quickly. I've never done this kind of mechanical work before, but the trilobite is set in a spinning silver bezel. I was quite afraid of cracking the trilobite-it is such a soft material. I would have felt bad destorying a fossil that managed to survive 7 million years, luckily my bench isnt that dangrous! The movement is not as smooth as I would like it, but it turns fairly well.


Tuesday, October 12, 2010

Creating Settings for Roman Coins

A long time ago I was asked by my mother to fix a pair of earrings. But because they had patinaed Roman coins bezel set in them, I decided to recreate the settings. I started off with this:
First thing to do was measure where I wanted the bezel, and where I wanted to open the backs.

After measuring I sawed out part of the silver disk to both lighten it and allow the backs of the coins to be seen. I then polished the disks lightly because I would be sautering the bezel on soon.

I created the bezels using fine silver, before sautering on the the disks i need to check that the coins fit.

Sautering.


Once I had everything attached  I had to polish. Polishing around the beads was difficult, but I got it. Finally, I set the coins and gave one last polish.

The final earrings are a little rough, and the beads do not match each other perfectly. But, the coins themselves don't match each other, and are rather rough. I wanted to give it that slightly imperfect look.